Tomcat Security
This guide is maintained for Ruk-Com PaaS. Screens and options may vary by platform version and account permissions.
Confirm the environment, region and account permissions, and back up current settings before changing a production system.
This instructions shows how to protect an application running on a Tomcat server in the platform. We recommend two possible solutions on how to restrict access to your app:
You can choose one of them or use both methods together.
Authentication
To set up the authentication in front of your web-application deployed to Tomcat server, perform the next configurations:
-
Open the platform dashboard and click the Config button next to the Tomcat server in your environment.
-
Go to the /opt/tomcat/conf folder and double-click the tomcat-users.xml file in order to open it. Use the following string format in order to specify new users roles and credentials:
xml Copy
<user username="test" password="test" roles="admin">
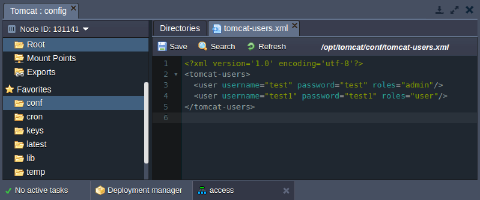 Save the changes made.
- Then navigate to the web.xml file (it is contained in the same /opt/tomcat/conf folder) and specify the security constraint for the newly created user.
xml Copy
<security-constraint>
<web-resource-collection>
  <url-pattern>/*</url-pattern>
</web-resource-collection>
<auth-constraint>
  <role-name>admin</role-name>
  <role-name>user</role-name>
</auth-constraint>
</security-constraint>
<login-config>
<auth-method>BASIC</auth-method>
<realm-name>Test Realm</realm-name>
</login-config>
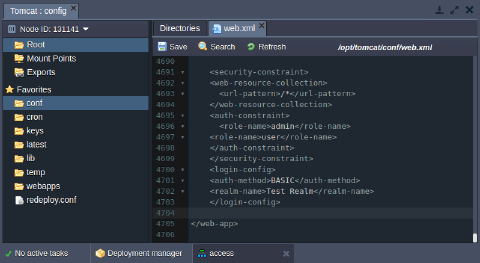 4. Don’t forget to Save the changes and Restart your Tomcat application server.
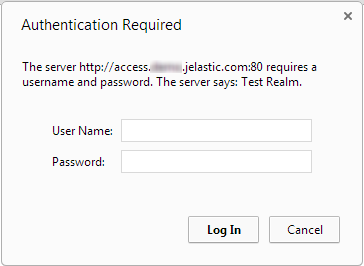
If you’ve done everything correctly, a user will meet the authentication window while trying to access the application.
Deny Client IP Addresses
In the case you would like to deny the access to your web-application for particular client IP addresses follow the next steps:
-
Press the Config button for the Tomcat app server in the environment with your application deployed.
-
Navigate to the /opt/tomcat/webapps/ROOT/META-INF folder and open the file named context.xml.
-
Enter the next strings in the context.xml file:
xml Copy
<Context antiJARLocking="true" path="/">
    <Valve className="org.apache.catalina.valves.RemoteIpValve" />
    <Valve className="org.apache.catalina.valves.RemoteAddrValve" deny="{IP_address}" />
</Context>
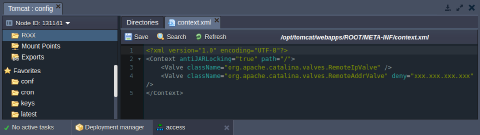
Note: In the case you’ve attached the Public IP to your environment you can omit this string:
xml Copy
<Valve className="org.apache.catalina.valves.RemoteIpValve" />
- Press Save button and Restart Tomcat server.
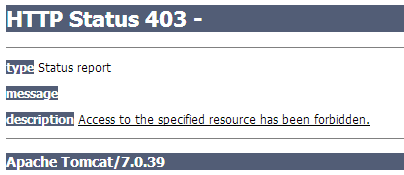
After the configurations setted up, the user with denied IP address will meet the HTTP Status 403 error while trying to access your application.