
Dump Import/Export to PostgreSQL
This guide is maintained for Ruk-Com PaaS. Screens and options may vary by platform version and account permissions.
Confirm the environment, region and account permissions, and back up current settings before changing a production system.
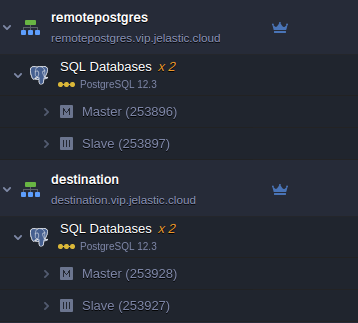
Create two database environments and connect to them using any desktop client (we use pgAdmin4 as an example. Learn more in our tutorial).
Dump export from PostgreSQL
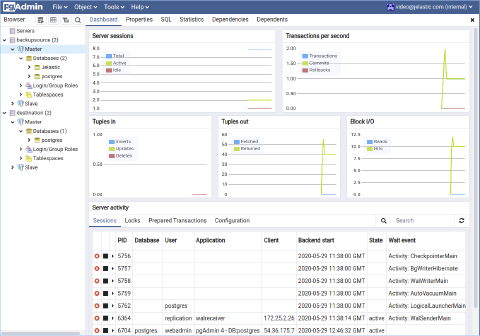
- We put environments remotepostgres.vip.Ruk-Com PaaS.cloud and destination.vip.Ruk-Com PaaS.cloud to the respective server groups backupsource and destination at the pgAdmin4 application.
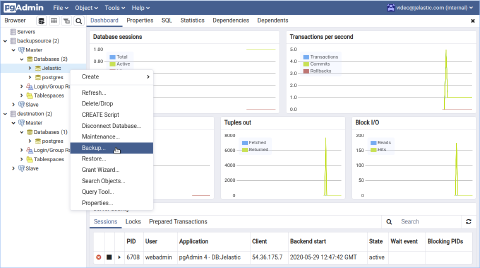
 1. Make a right-click on the required database to be backed up e.g., Ruk-Com PaaS and choose Backup.
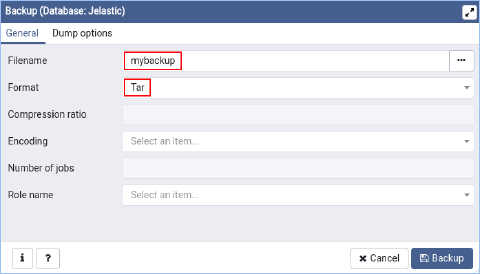
 1. Specify your dump file name and the format of the output file. E.g., mybackup and Tar file format respectively.
 1. Click on the Dump options tab and select backup options for database objects.
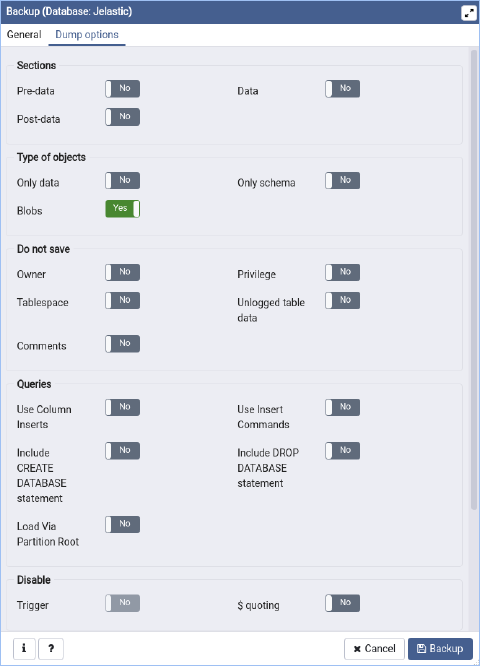 1. Finally, click the Backup button. The successful window should appear.
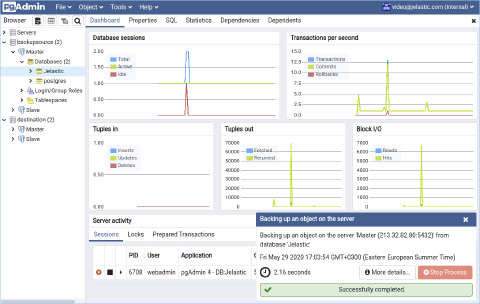 Your dump file will be stored in the user home directory or by the path to which you have specified at the host the pgAdmin4 is running on.
Dump import to PostgreSQL
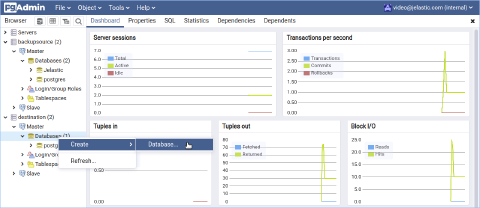
- Create an empty database at the destination server.
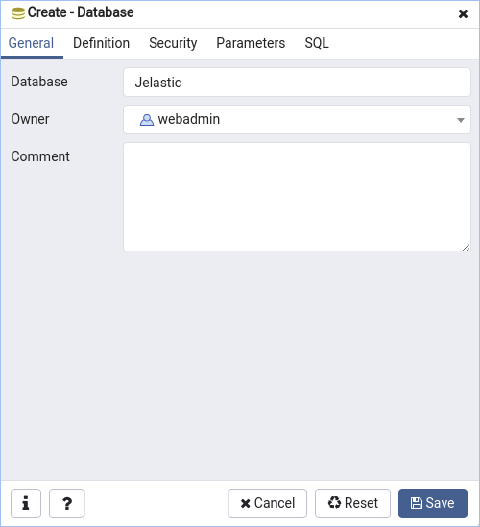
 1. Set the name in the field Database either the same e.g., Ruk-Com PaaS or any arbitrary name.
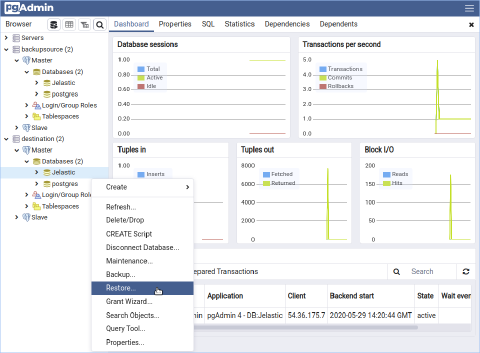
 1. To perform dump import to PostgreSQL database make the right-click on the new database and choose Restore.
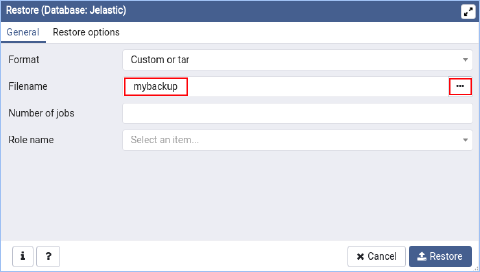
 1. Select the file format used during the database backup operation. As for our example, we used tar format. Specify the name of the backup file or use file open dialogue at the right of the Filename field to choose the necessary file.
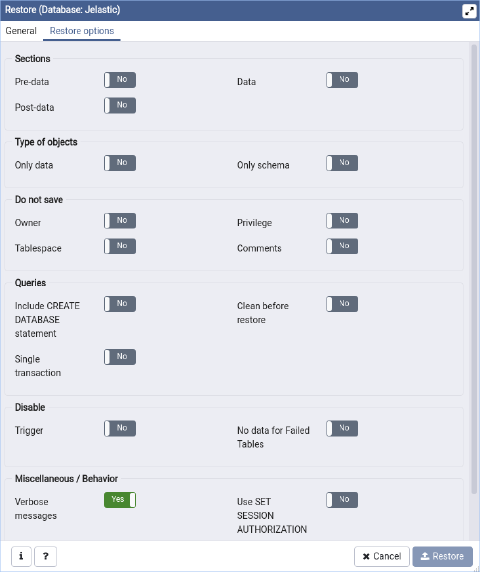
 1. Set advanced restoring options if needed.
 1. Finally, click on the Restore button.
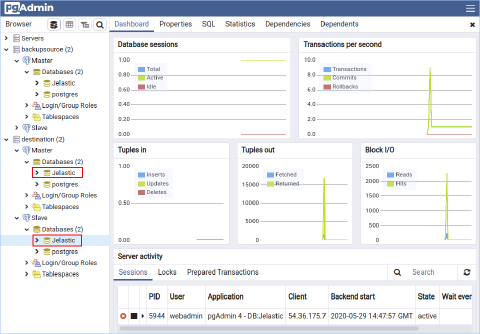
2. Navigate back to the Ruk-Com PaaS database at the destination server group and make sure that the database was restored properly with its content at both servers Master and Slave.
1. Finally, click on the Restore button.
2. Navigate back to the Ruk-Com PaaS database at the destination server group and make sure that the database was restored properly with its content at both servers Master and Slave.
 That’s all! Hope this how-to was useful for you.