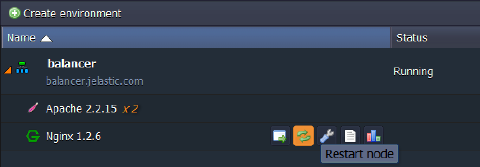
Caching in NGINX Balancer
This guide is maintained for Ruk-Com PaaS. Screens and options may vary by platform version and account permissions.
Confirm the environment, region and account permissions, and back up current settings before changing a production system.
Caching in NGINX is the process of storing data in front of web servers. For example, the files a user automatically requests by looking at a web-page can be stored in your NGINX cache directory. When a user returns to a page he’s recently looked at, the browser can get those files from the NGINX cache directory rather than the original server, saving time and traffic.
So caching improves performance while accessing to a resource in two ways:
- reduces the access time to the resource by copying it closer to the user.
- increases the resource building speed by reducing the number of accesses. For example, instead of building the homepage of your blog at each request, you can store it in a cache.
This instruction shows how to set up a caсhe on the NGINX-balancer in the platform.
With NGINX-balancer you can use caching for reducing application servers load. To perform that just come through the next steps:
-
Log into the platform dashboard.
-
Click the Create Environment button.
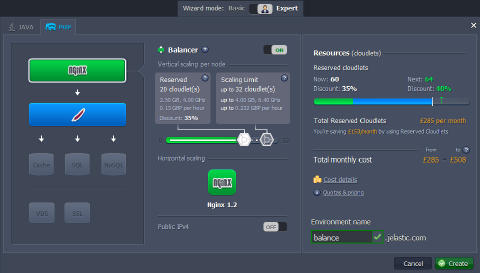
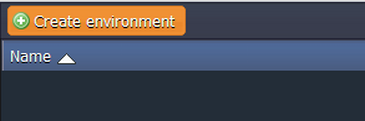 3. Create the environment with a few application servers and NGINX as a balancer, specify the cloudlet limits, type the name of the environment and click Create button.
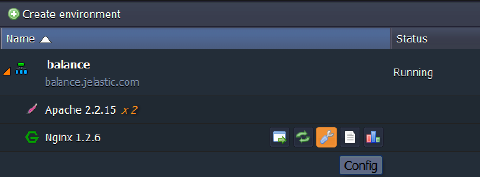
 In a minute your environment will be created and appears in the environment list.
- For setting up the cache click Config button for NGINX node in your environment and navigate to conf.d > cache.conf.
 5. For enabling cache uncomment lines as it is shown in the picture below.
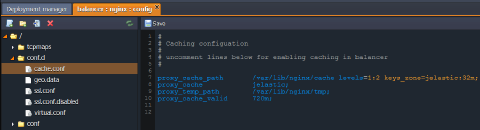 * proxy_cache_path
/var/lib/nginx/cache [levels=levels] keys_zone=name:size - Sets path and other parameters of a cache.
* levels parameter defines hierarchy levels of a cache.
* keys_zone parameter configures name and RAM size of the zone (for example Ruk-Com PaaS:32m).
-
proxy_cache
zone | off- Defines a shared memory zone used for caching. The same zone can be used in several places.- zone is the identifier of the cache.
- off parameter disables caching inherited from the previous configuration level.
-
proxy_temp_path
/var/lib/nginx/tmp [level1 [level2 [level3]]]- Defines a directory for storing temporary files with data received from proxied servers. Up to three-level subdirectory hierarchy can be used underneath the specified directory. - proxy_cache_valid
{number}m- Specifies the time during which NGINX should keep the cache (for example 720m).
To find info about other available directives follow the NGINX Proxy Module Documentation.
Tip: If it is necessary to clear the cache you can just use proxy_cache_valid directory with the 0m parameter value.
- Save the changes and restart the node.