
Setup SSL
This guide is maintained for Ruk-Com PaaS. Screens and options may vary by platform version and account permissions.
Confirm the environment, region and account permissions, and back up current settings before changing a production system.
Objective
This guide explains how to use Setup SSL on Ruk-Com Cloud PaaS, with ordered procedures and practical verification points.
Before you begin
- Sign in with an account permitted to manage the relevant environment.
- Confirm the target environment, region and resources before saving changes.
- Create a backup or rollback plan before changing a production system.
Ruk-Com Cloud (PaaS)Supports a variety of SSL settings for each environment, with options to choose from based on your preferences.Topologyand the type of domain you want to use as follows:
1.Built-In SSL (no Public IP)
The system will automatically set up SSL usingThe basic domain of the environment(such asenvname.app.manage.ruk-com.cloud) which is suitable for cases where Public IP is not used and services are provided throughSLB (Software Load Balancer)
Click on the menu ? SSL ->Build-In SSL-> On
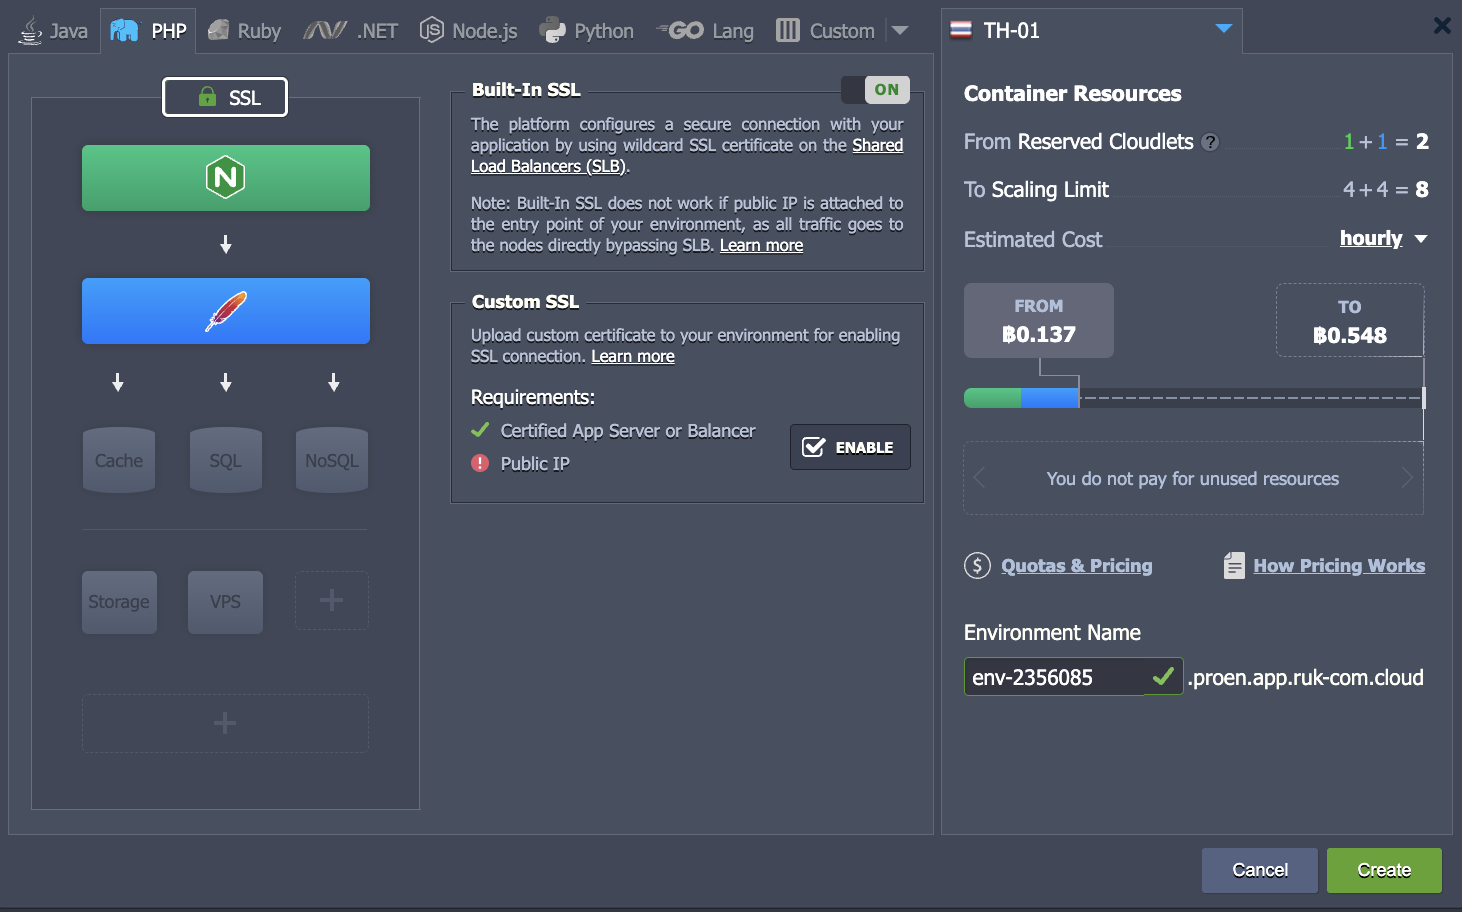
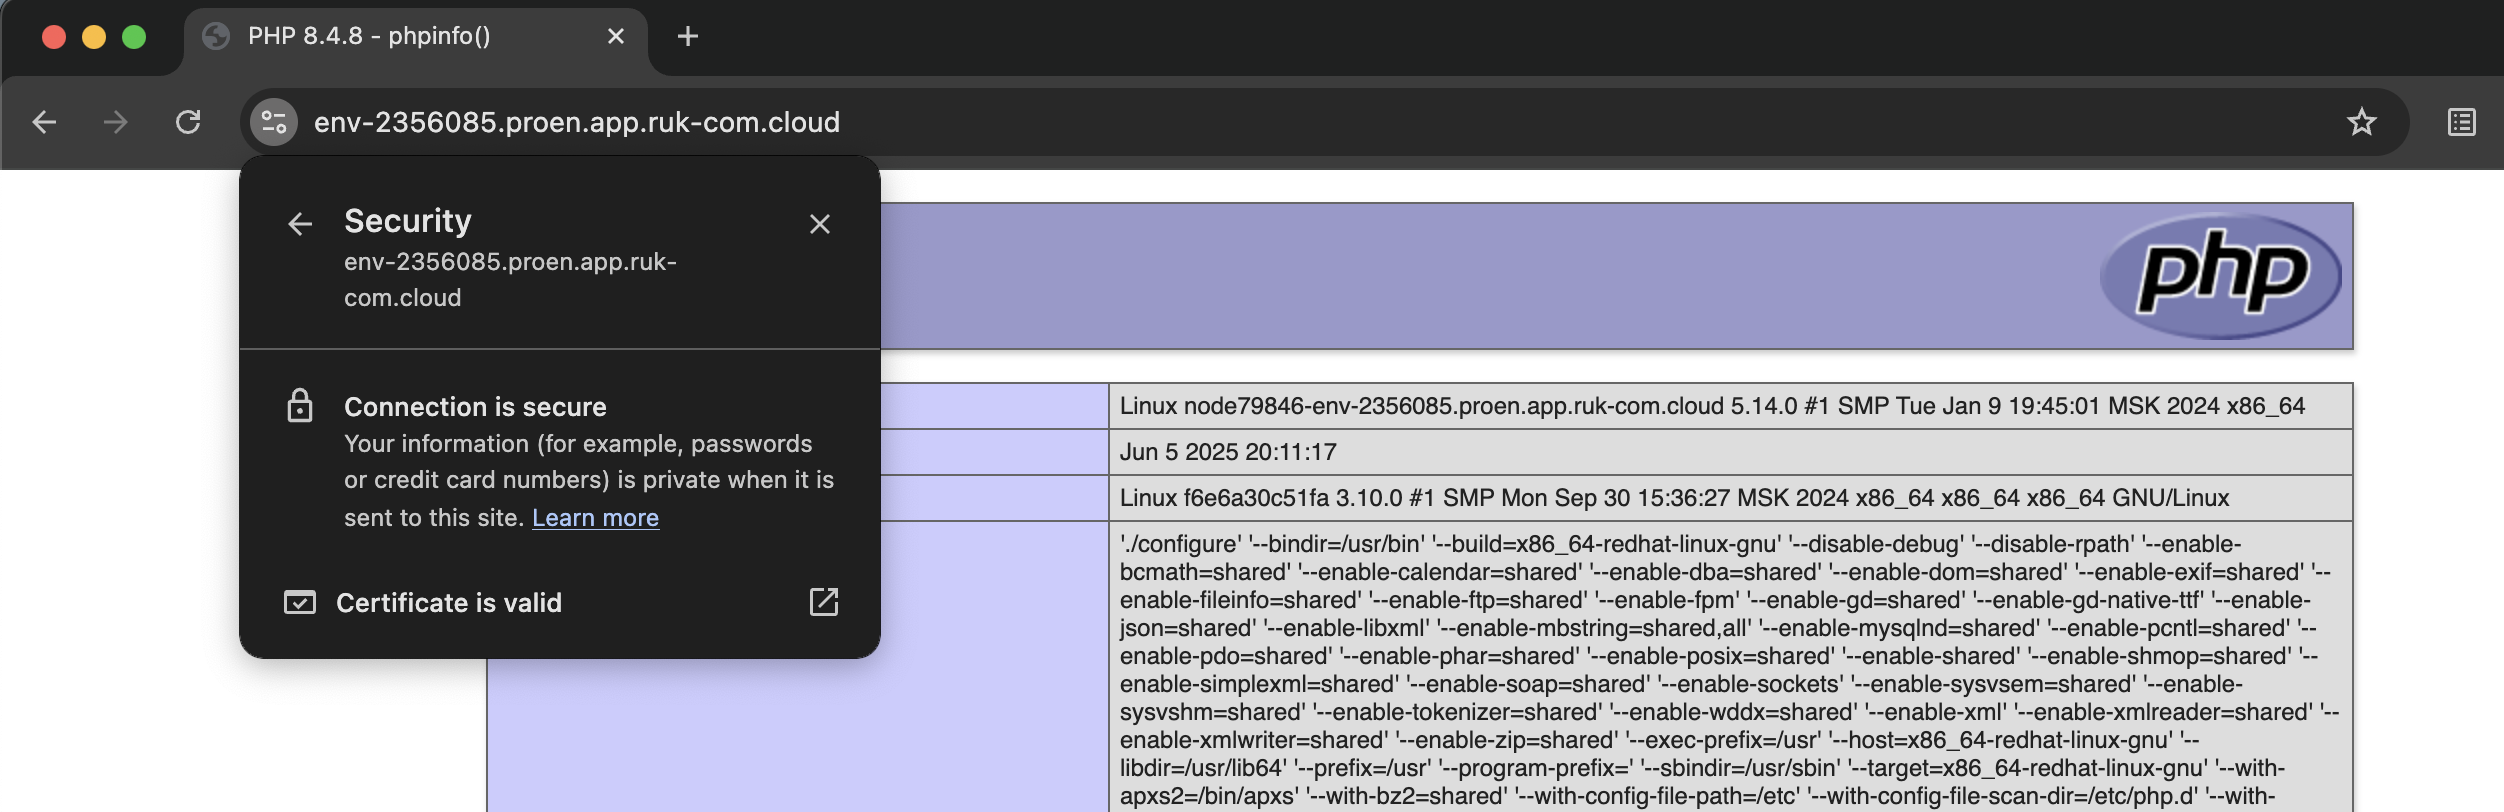
Note: If a Public IP is added, the environment's base domain will not be able to use SSL immediately because the server needs to manage SSL itself, which can use certificates.Let's Encrypt SSLaccording to the manual that we have prepared

2.Environment with Public IP as Entry Point
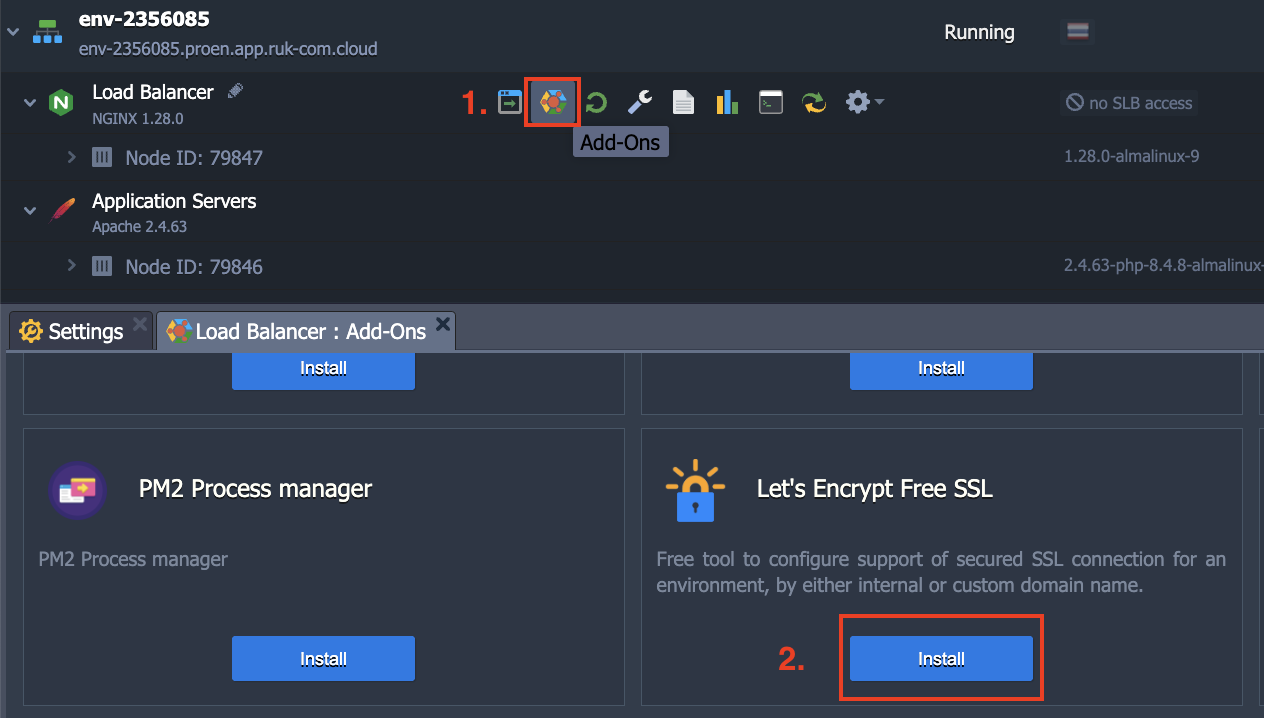
Can be used bothLet’s Encrypt SSLandCustom SSLTo create a secure connection to a custom domain
Click on the menu ? Add-Ons ->Let’s Encrypt SSL-> Install
3.Custom SSL (with Public IP)
besidesBuilt-In SSLandLet's Encrypt SSLThe platform also supportsUpload and use a custom SSL certificate (Custom SSL Certificates)for your environment as well.
Click on the menu.? SSL ->Enable Public IP-> Apply
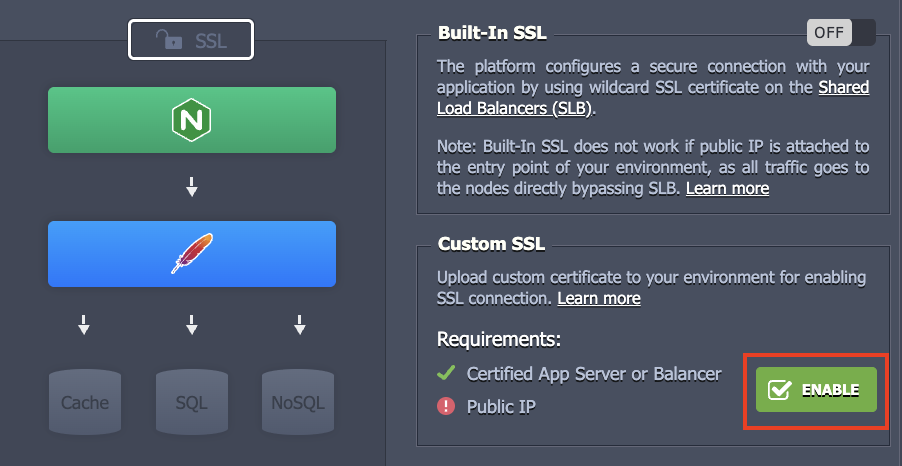
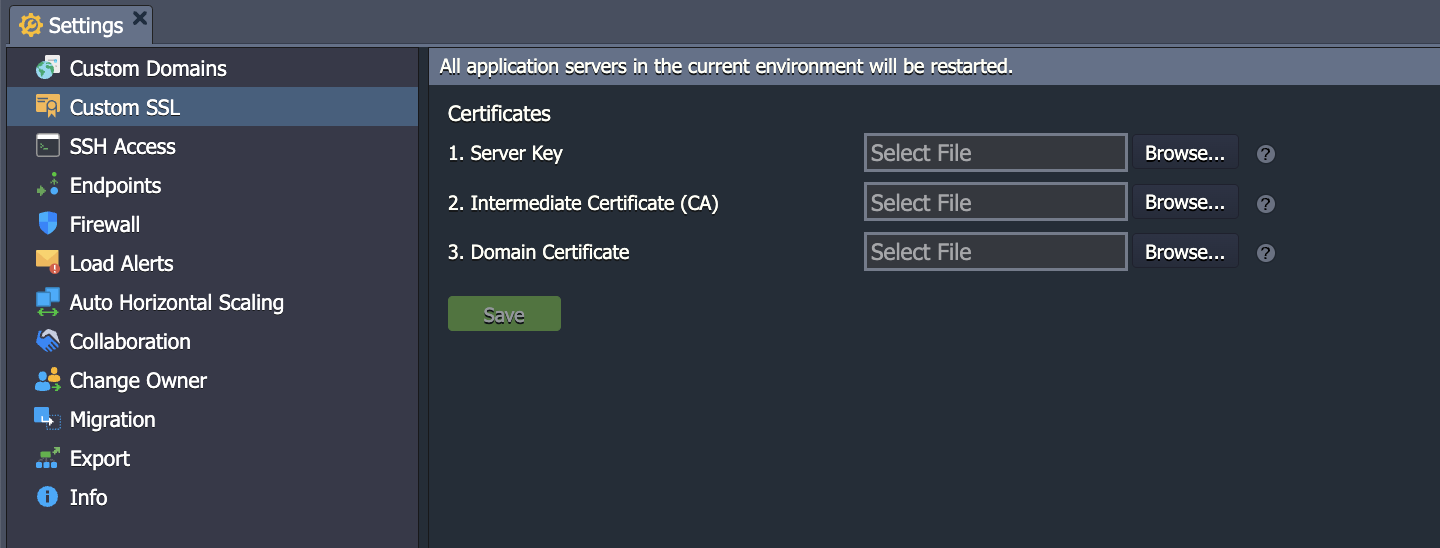
Upload certificates including:
- wp:list-item
- Private Key /wp:list-item wp:list-item
- Domain Certificate /wp:list-item wp:list-item
- Intermediate Certificate /wp:list-item
These data are stored in the Ruk-Com Cloud database. You can follow the steps for uploading an SSL certificate.manualthis