
Importing and exporting Dump Files to PostgreSQL
This guide is maintained for Ruk-Com PaaS. Screens and options may vary by platform version and account permissions.
Confirm the environment, region and account permissions, and back up current settings before changing a production system.
Objective
This guide explains how to use Importing and exporting Dump Files to PostgreSQL on Ruk-Com Cloud PaaS, with ordered procedures and practical verification points.
Before you begin
- Sign in with an account permitted to manage the relevant environment.
- Confirm the target environment, region and resources before saving changes.
- Create a backup or rollback plan before changing a production system.
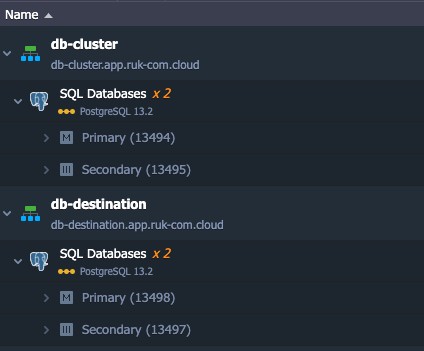
Create two database environments and connect them using the desktop client (we're using pgAdmin4 as an example. Learn more in our tutorial.
Exporting Dump from PostgreSQL
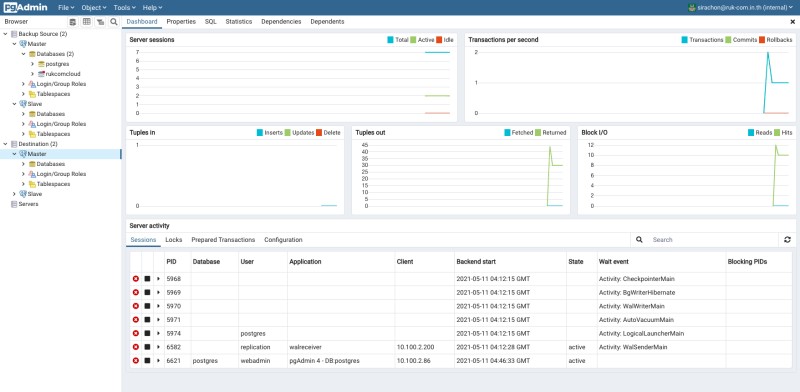
1. We put 2 environments.db-cluster.app.Ruk-Com.cloudis the original database anddb-destination.app.Ruk-Com.cloudIt is the destination backup source. of the server group in the programpgAdmin4
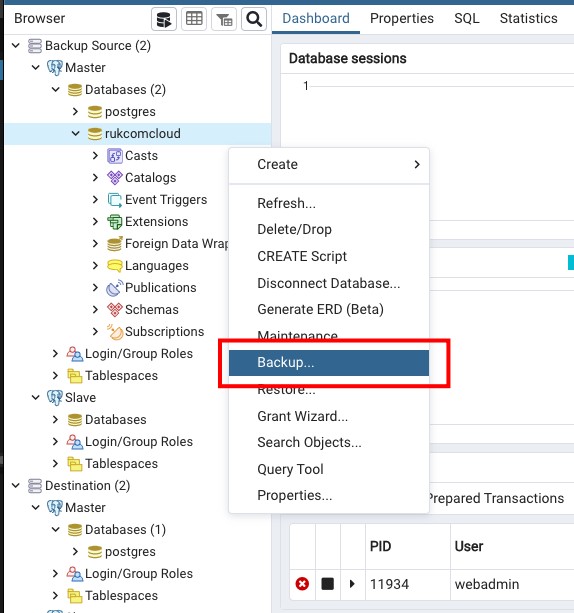
2. Right-click the desired database to back up, such as Ruk-Com, and selectBackup
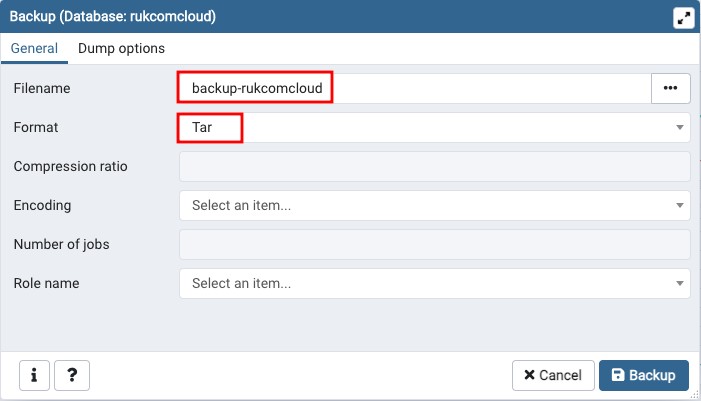
3. Specify the name of your dump file and the format of the output file, e.g.mybackupand file formatTarrespectively
4. Click on the tabDump optionsand select the backup option for database objects.
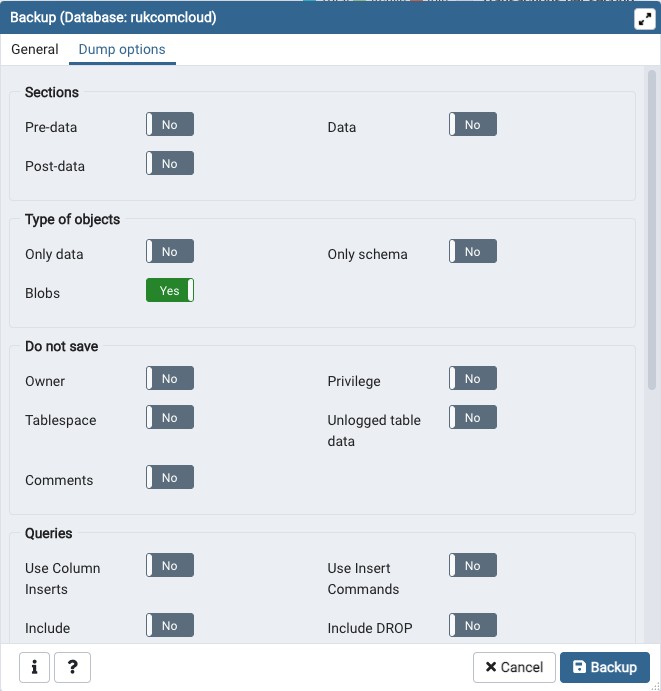
5. Finally, click the button.BackupA success window will appear.
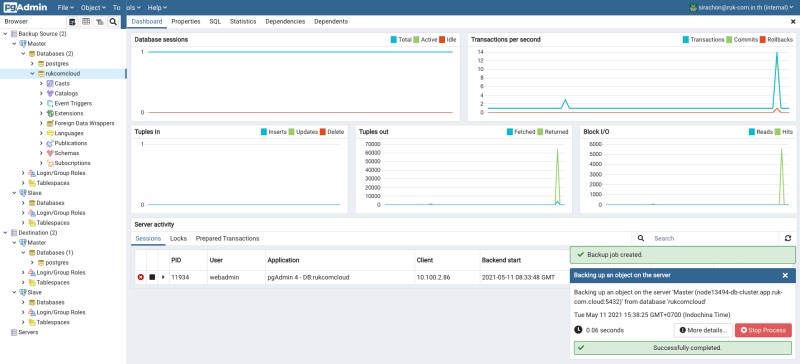
Your dump file will be stored in the user's home directory or at the path you specified on the host where pgAdmin4 is running.
Importing dump into PostgreSQL
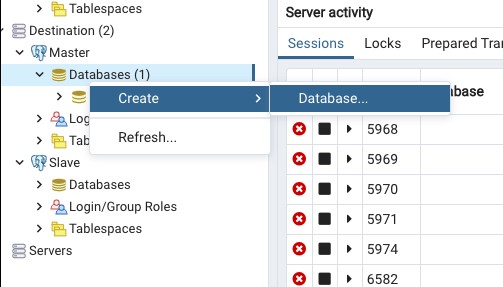
1. Create an empty database on the destination server.
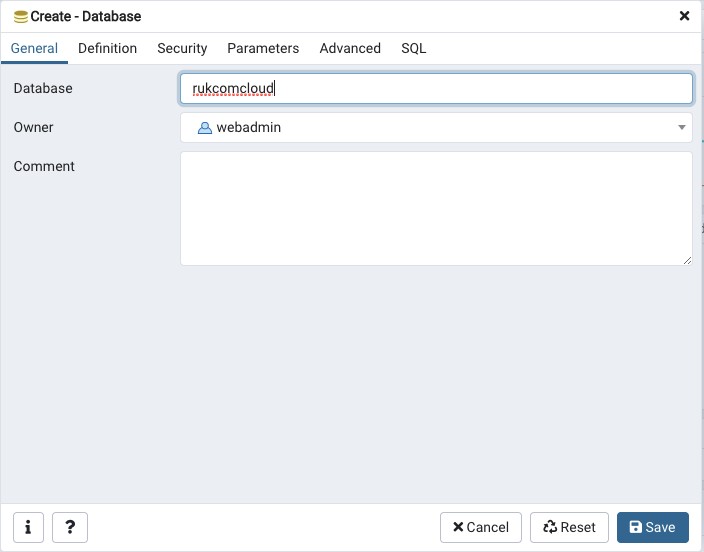
2. Set a nameDatabaseGive it the same name, such as rukcomcloud or another name as desired.
3. To proceed with importing the dump into the PostgreSQL database, right-click on the newly created database and selectRestore
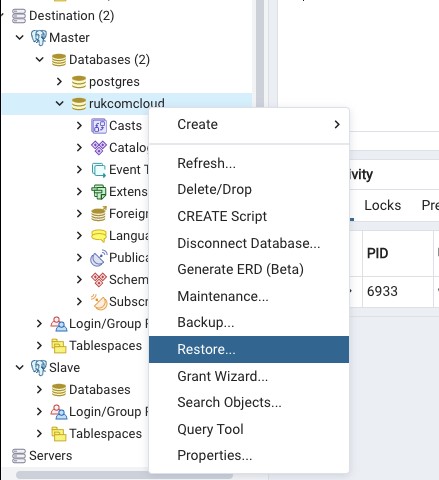
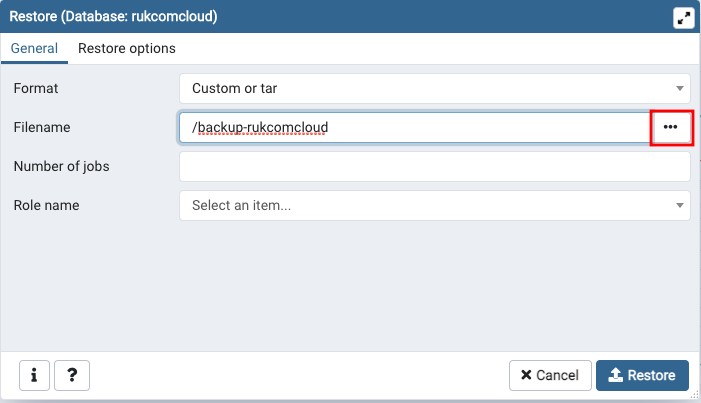
4. Select the file format used during the database backup operation. For the example we are using tar format, specify the name of the backup file or browse file in the right side of the field.Filenameto select the files to restore.
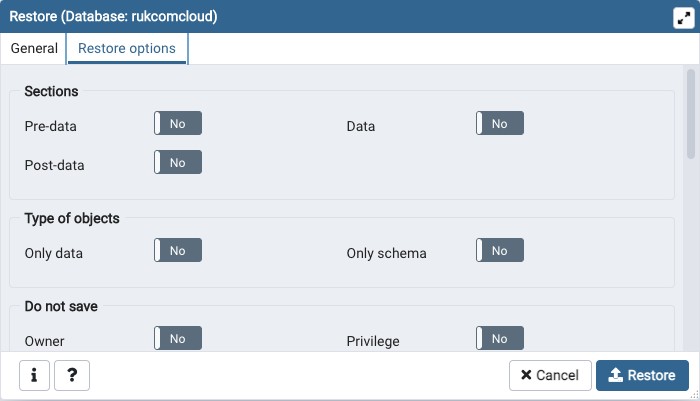
5. Set advanced recovery options if there is a need to set them.
6. Finally select the button.Restore
7. Return to the rukcomcloud database at the destination server group. and ensure that the database is properly restored with content on both the Master and Slave servers.
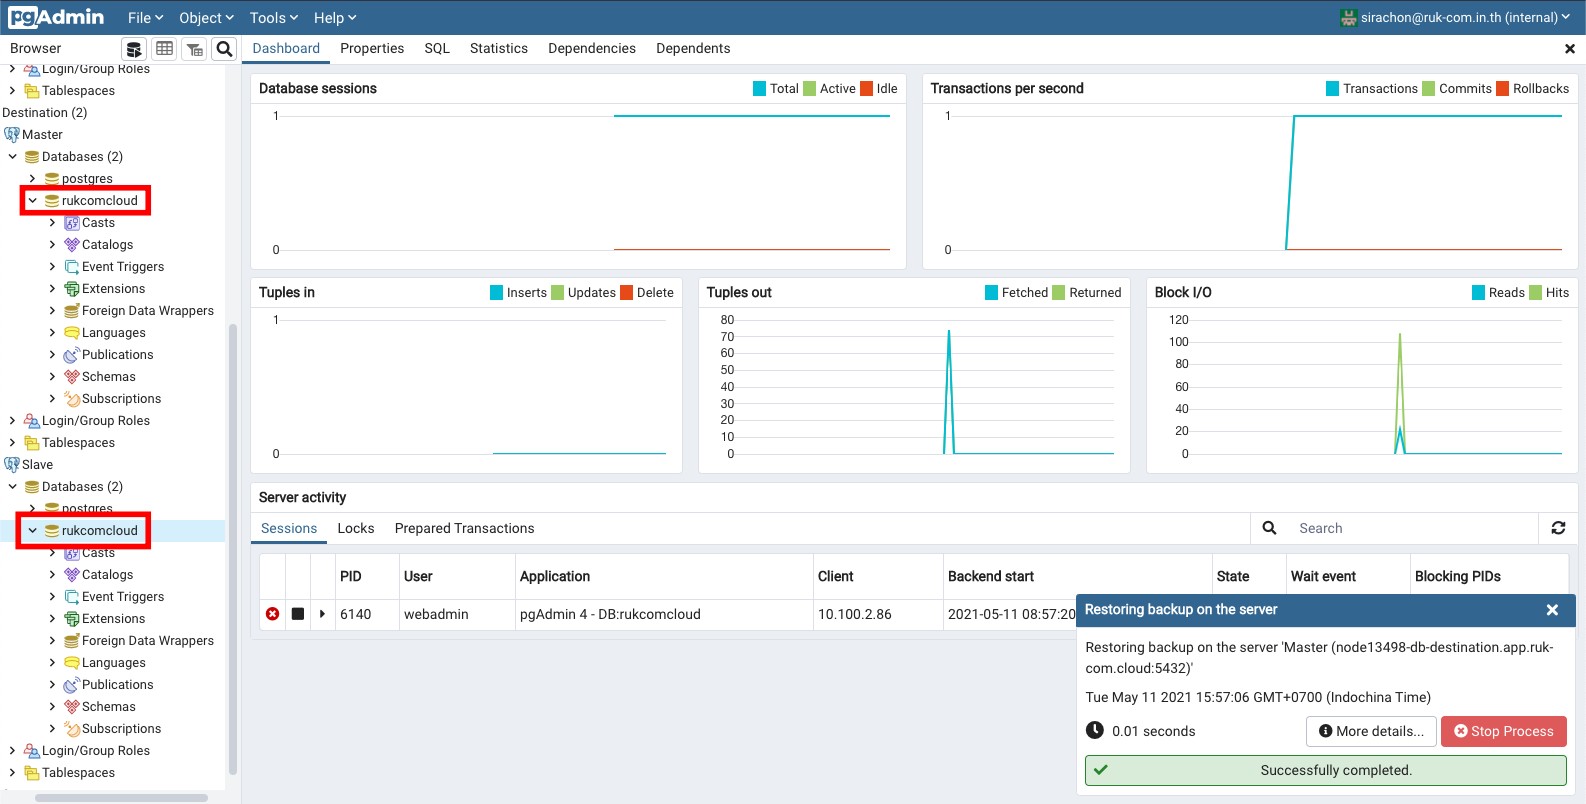
That's all, the data has been restored. Hope this method is useful for you.