
Getting Started with PaaS
This guide is maintained for Ruk-Com PaaS. Screens and options may vary by platform version and account permissions.
Confirm the environment, region and account permissions, and back up current settings before changing a production system.
Objective
This guide explains how to use Getting Started with PaaS on Ruk-Com Cloud PaaS, with ordered procedures and practical verification points.
Before you begin
- Sign in with an account permitted to manage the relevant environment.
- Confirm the target environment, region and resources before saving changes.
- Create a backup or rollback plan before changing a production system.
Learn how to use Ruk-Com Cloud's powerful tools that will make your work Infrastructure / DevOps / Server scaling including system security (Security) is easier than ever with 100% management via Dashboard.
How to apply for membership
To get started You can apply for membership atRuk-Com.cloudand select the membership menu in the right-hand corner of the website page
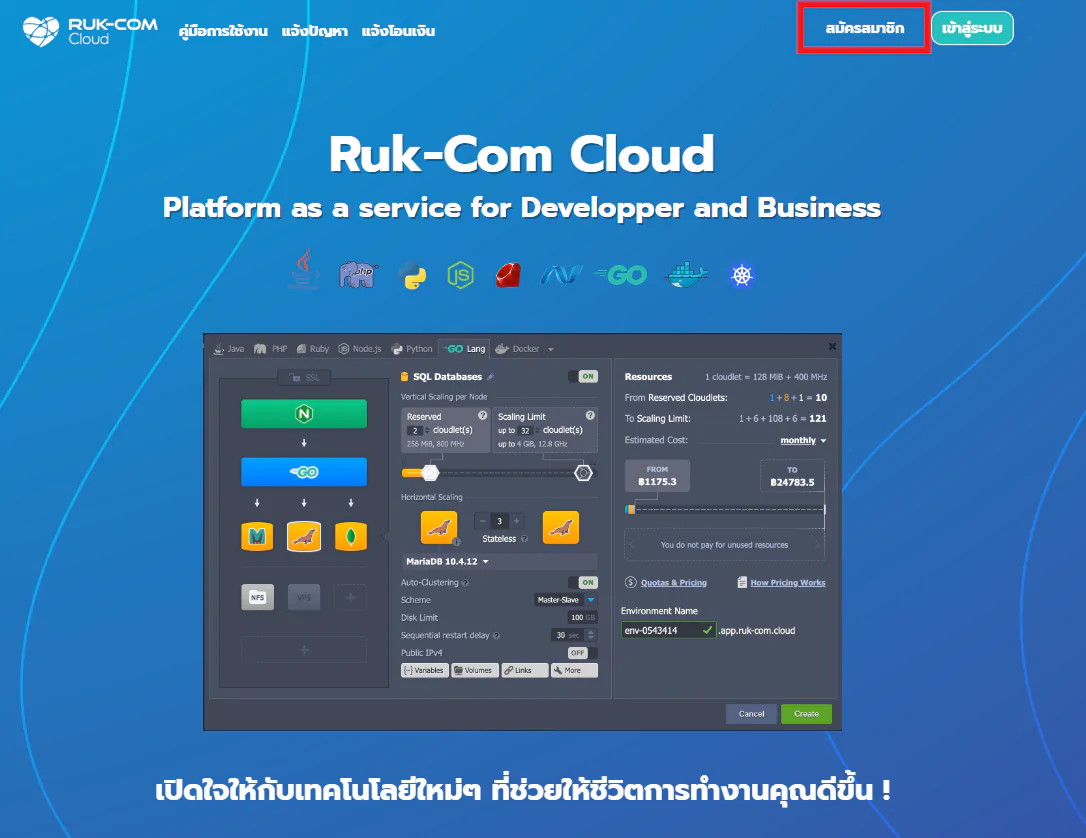
After filling in the details The system will display the registration page and prompt you to check your email for registration confirmation. (Please click the link within 24 hours)
Deploy Application
When you have successfully applied for membership and logged in for the first time, there will be a tutorial to guide you in basic use. Or you can click to browse for more at the Help > Tutorial menu located in the upper right hand corner of the screen.
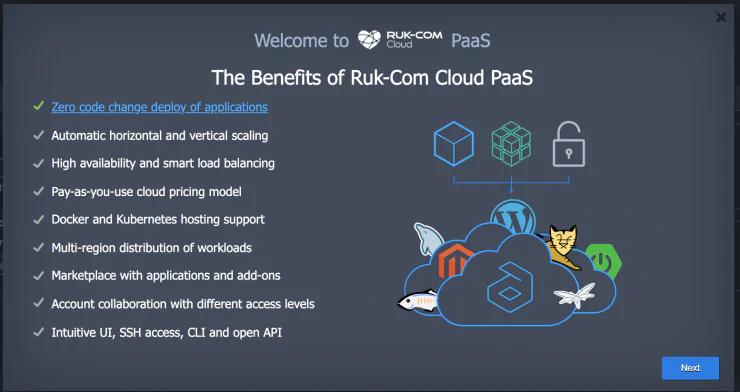
For creating an application, there are 2 formats: creating an application from the Marketplace and creating a Manual Deployment format.
Application Marketplace
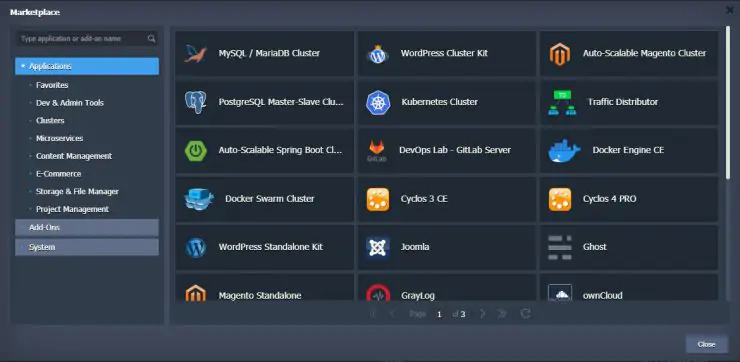
For the Marketplace, there are applications available that you can choose according to your needs. After installation is complete, you can use it immediately without installing any additional services.
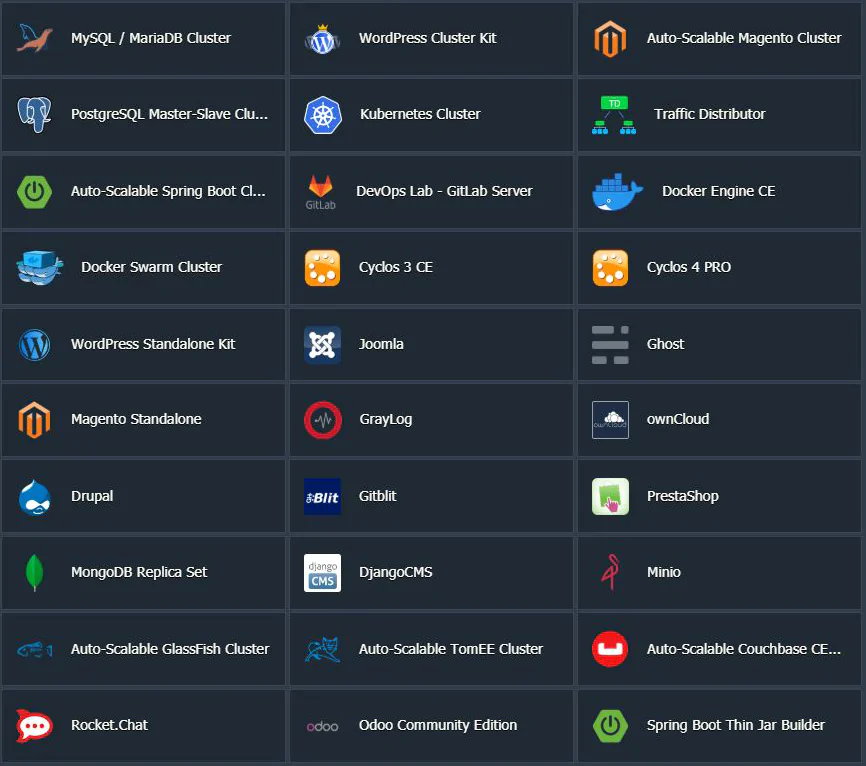
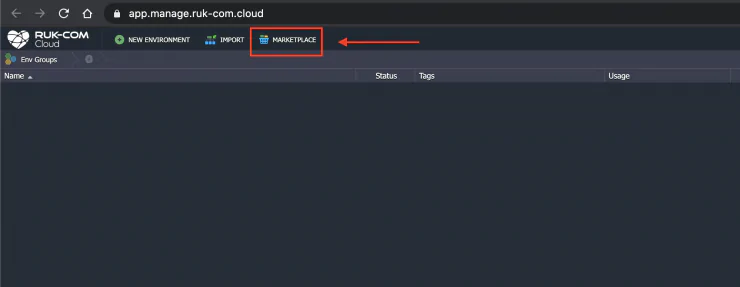
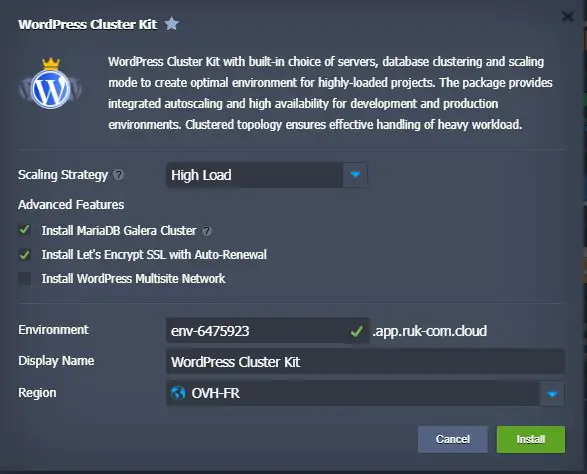
-Advance FeaturesThere will be details to choose whether you want to use a Database Cluster or want to activate an ssl certificate and want to use Wordpress that is Miltisite or not.
-EnvironmentUse it as the url name to run the application and use it as the cname name. If you have a domain and want to bind it to the Application, you can point the domain to connect to the environment and view the content of our application through doaminanme.
-Display NameUsed as the project name or application name in the Ruk-Com.cloud system.
-RegionYou can choose the country of use in which country you want the application to be created and used to meet the needs of running applications in various zones.
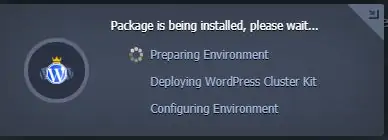
When you choose to install, the system will create the application as configured. It takes approximately 1-5 minutes.
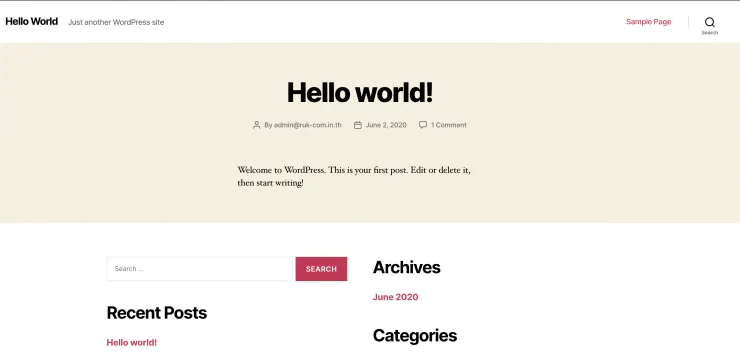
After installation is complete You can access the application through the Environment name on the browser page. All usage details such as details for managing wordpress and details for managing mysql server will be sent to the email that has been registered. Just like this, you can create WordPress without having to upload a Wordpress file and install it anymore.
Manual Deployment
Creating applications in a customizable format, such as wanting to make a load balancer or wanting to specify various versions of software to suit
application that you want to use
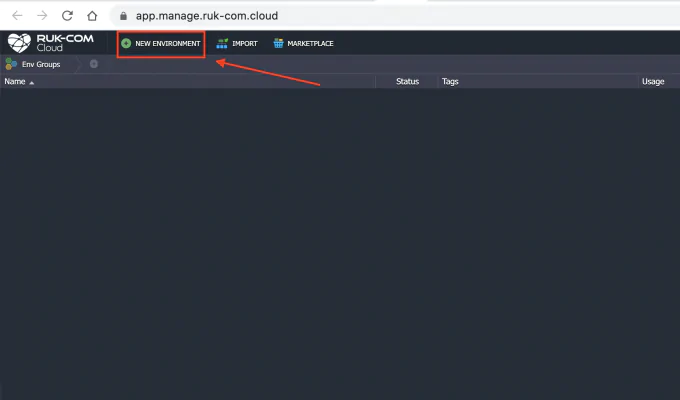
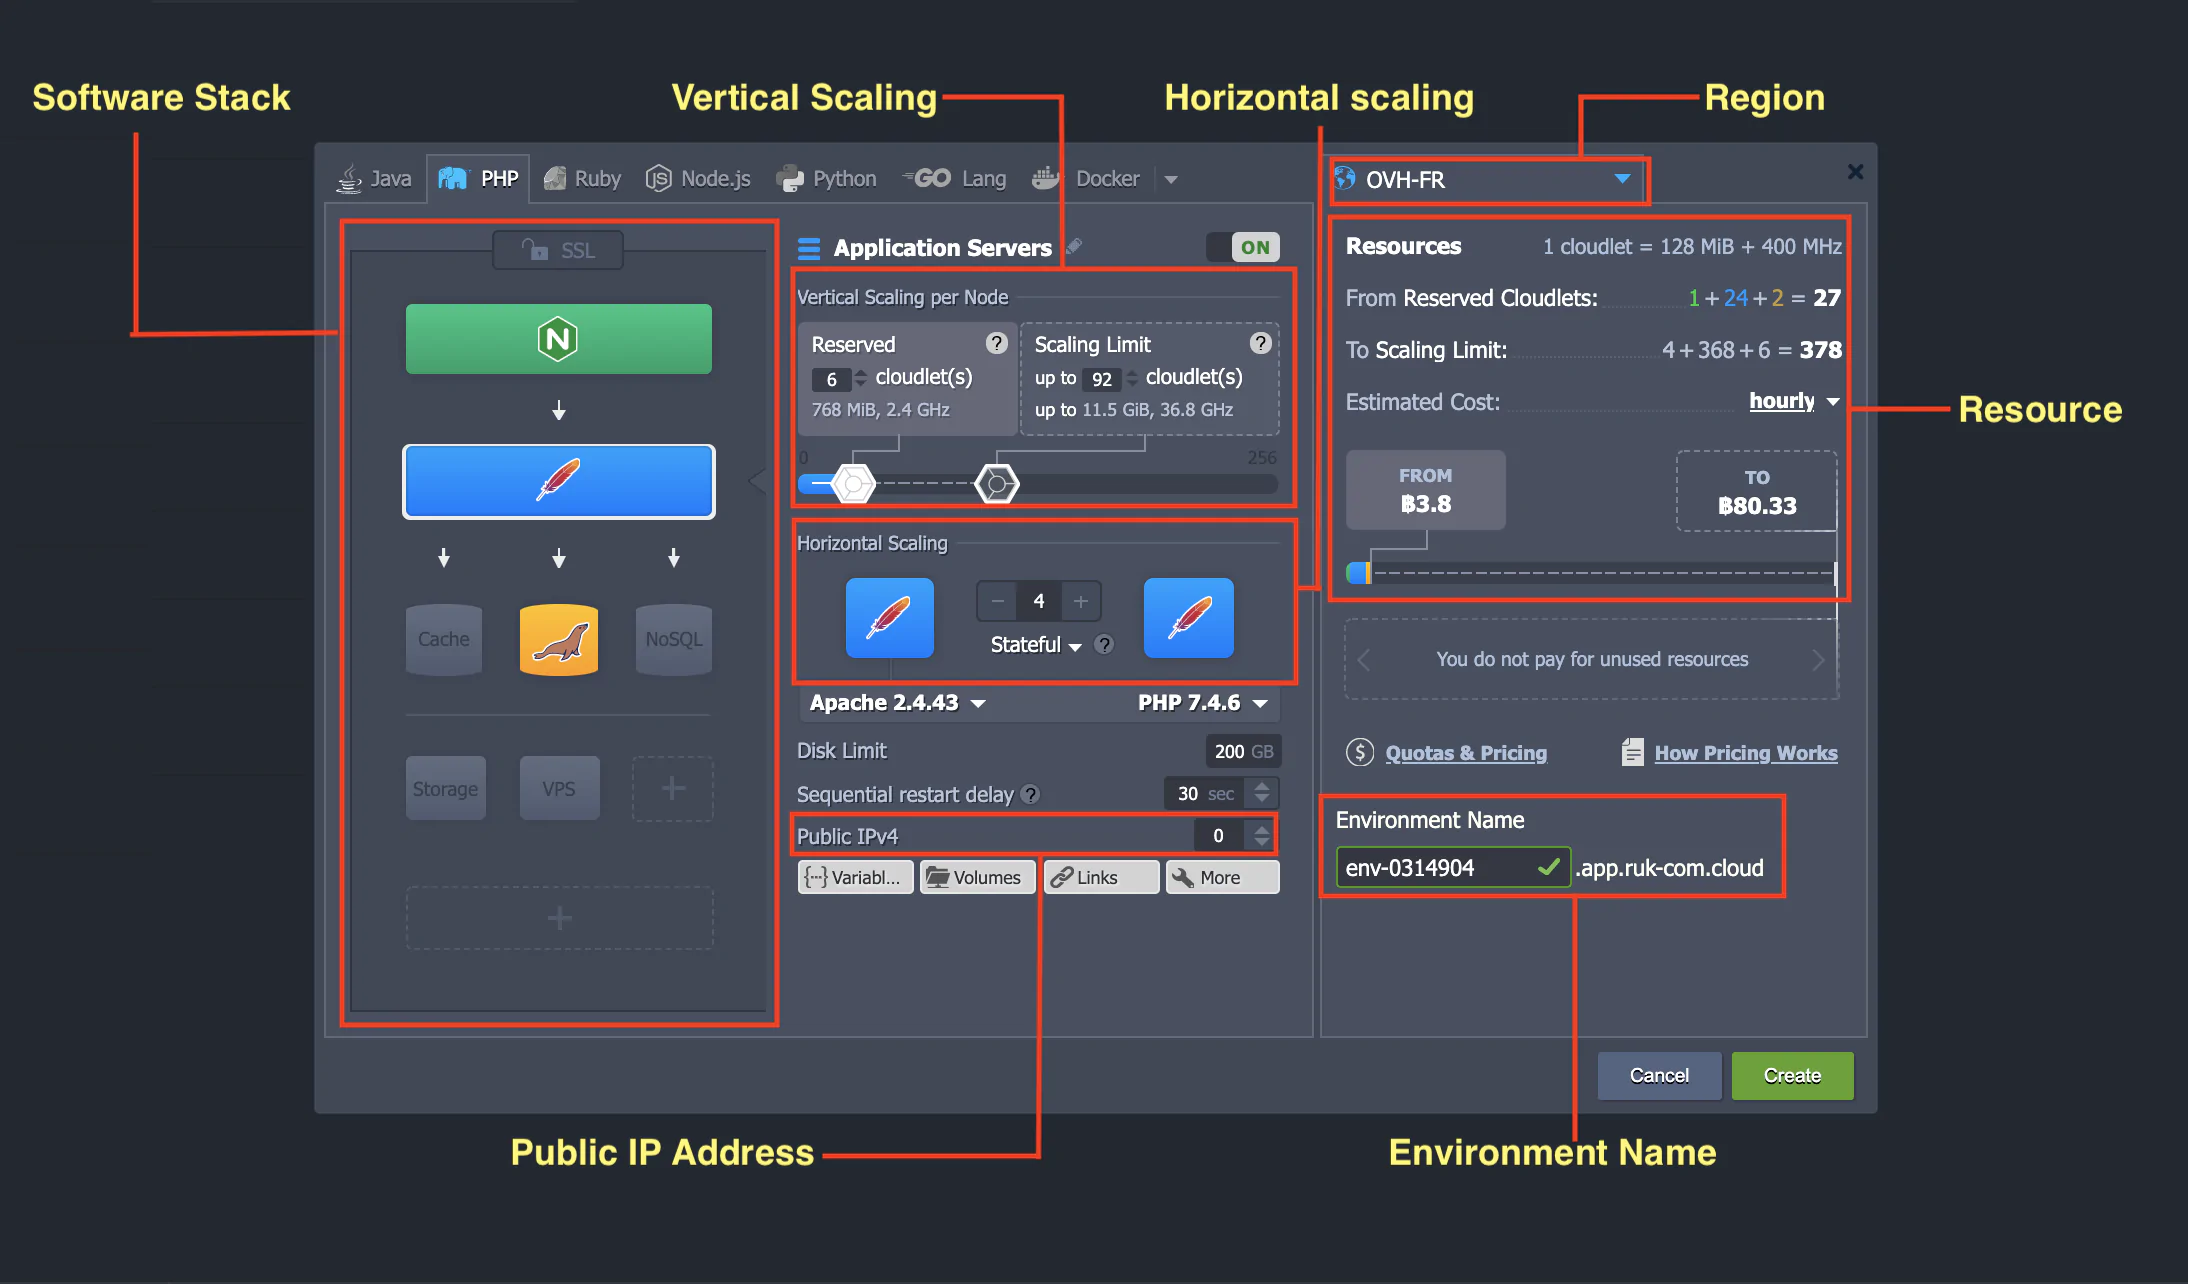
- Software stacks can design software according to usage, including:LOAD BALANCERS, APPLICATION SERVERS, DATABASES, ENGINESHere we will choose to use apache server, nginx and database server to use with the php language.
- Vertical scaling: Increasing and decreasing the reousrce of the application according to actual use will be vertical scaling, "adding resources when there is a lot of use and reducing resources when there is little use" will be divided into 2 topics as follows.



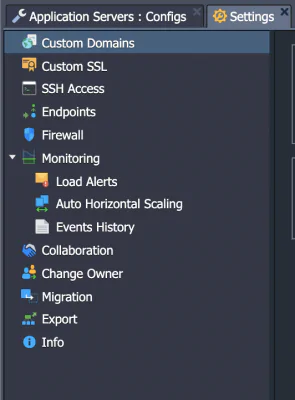
Or if you want to set Other additional parts such as ssh access, custom ssl, firewall, monitoring can be selected from the Setting menu.
Have fun using it. Ruk-Com.cloud Or if you have any questions, would like to ask for more information. You can inform details athttps://Ruk-Com.cloud/support