
Setting Up Multiple Domains with Public IP
This guide is maintained for Ruk-Com PaaS. Screens and options may vary by platform version and account permissions.
Confirm the environment, region and account permissions, and back up current settings before changing a production system.
Objective
This guide explains how to use Setting Up Multiple Domains with Public IP on Ruk-Com Cloud PaaS, with ordered procedures and practical verification points.
Before you begin
- Sign in with an account permitted to manage the relevant environment.
- Confirm the target environment, region and resources before saving changes.
- Create a backup or rollback plan before changing a production system.
Benefits of Multiple Domains
- Usage
The benefit of having multiple domain names allows for multiple entry points. For example, you need different domains leading to different themed sites for different marketing campaigns or user experiences.
- Save money
Another benefit that you can take advantage of is the ability to have more than one domain running on a single environment, for example. You can have two different applications with two different domains running on a single Tomcat instance.
Setting up multiple domains
To use a domain name for your application You must be registered or have admin access.
- Login to Ruk-Com Cloud
- On the dashboard, click the buttonNew Environment
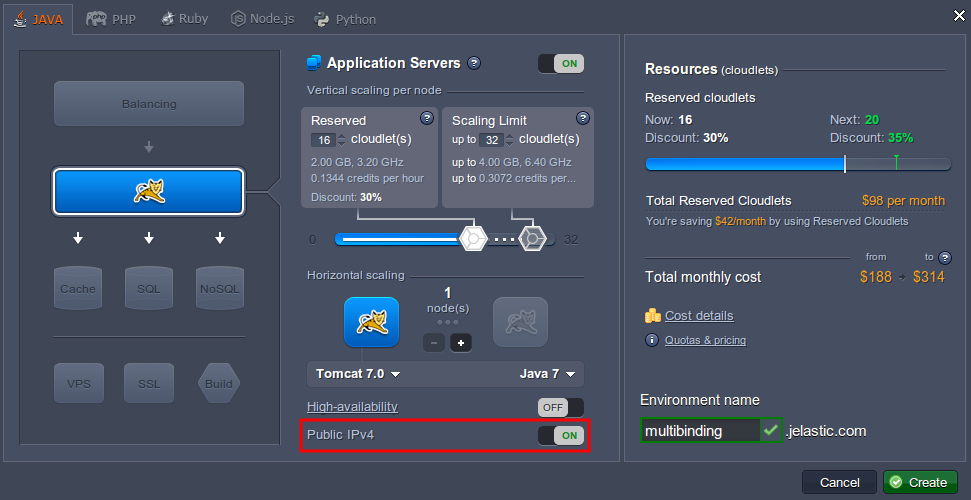
- Select application server (For example:Tomcat) Open Public IPv4Onfor your server and type the environment name, e.g.multibinding
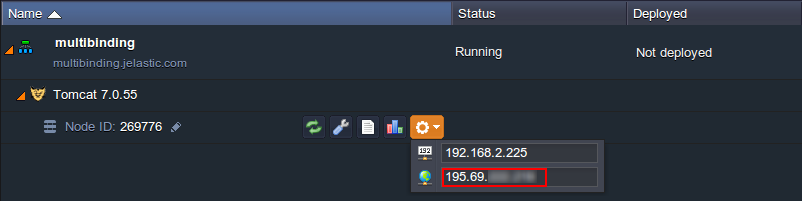
- Bind your domain name to Tomcat's Public IP, which can be found in the dropdown list for that server. The steps for linking your domain depend on the hosting company from which you purchased your domain.
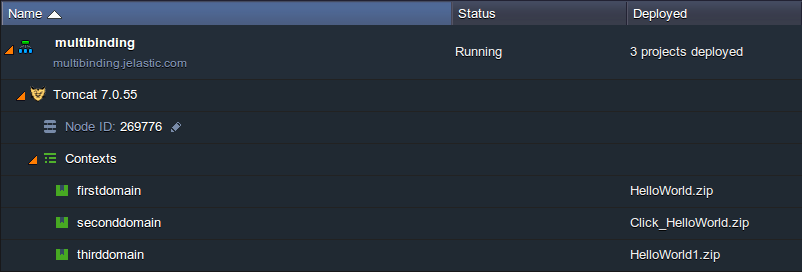
- Upload your war file by going toDeployment Managerand deploy to different contexts
- Click the buttonConfigThe Tomcat application
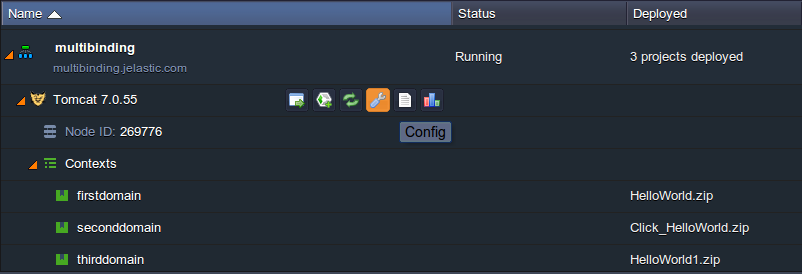
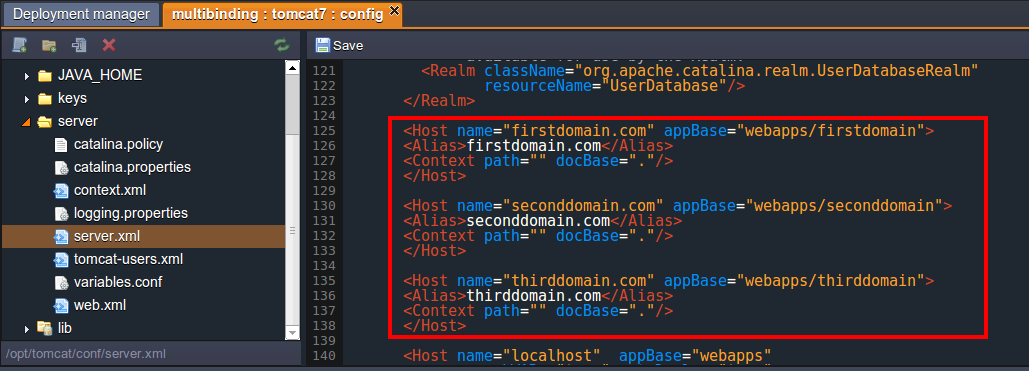
- Go to the server.xml file (server directory) and configure it for hosting multiple domains by adding Host tags for each domain you want to host.
For example:
<Host name="firstdomain.com" appBase="webapps/firstdomain">
<Alias>firstdomain.com</Alias>
<Context path="" docBase="."/>
</Host>

<Host name="seconddomain.com" appBase="webapps/seconddomain">
<Alias>seconddomain.com</Alias>
<Context path="" docBase="."/>
</Host>

<Host name="thirddomain.com" appBase="webapps/thirddomain">
<Alias>thirddomain.com</Alias>
<Context path="" docBase="."/>
</Host>
...
8. Save changes and restart Tomcat.
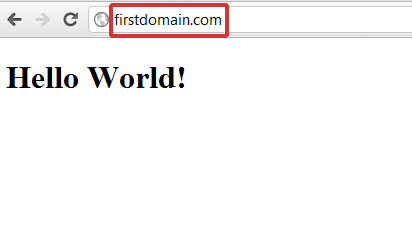
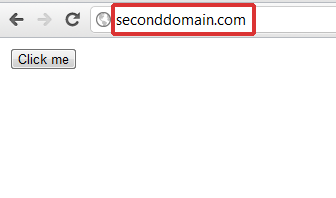
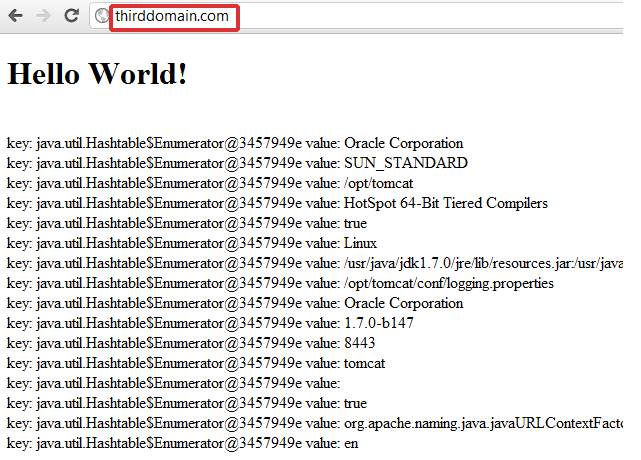
9. You can now check the results, your application will be available through the specified domain name.
Note:If you want to redeploy the application to the Tomcat instance with the server.xml already defined, you must comment <Host> before redeploying and uncomment it afterwards.