
Corruption Diagnostic Add-On
This guide is maintained for Ruk-Com PaaS. Screens and options may vary by platform version and account permissions.
Confirm the environment, region and account permissions, and back up current settings before changing a production system.
The list of supported stacks for corruption diagnostic:
- Standalone MariaDB/MySQL/Percona stacks
- Primary-Secondary Cluster based on MariaDB/MySQL/Percona stacks
- Primary-Primary Cluster based on MariaDB/MySQL/Percona stacks
- Galera Cluster based on MariaDB stack
- XtraDB Cluster based on Percona stack
Add-On Installtion
The add-on can be installed either automatically along with database cluster installation or manually from Marketplace.
- Go to the Add-Ons section in the Marketplace and pick the Database Corruption Diagnostic add-on.
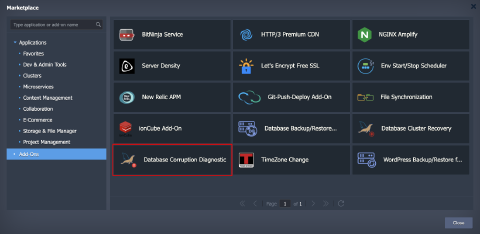 2. In the opened installation window, provide the required data:
- User and Password - the database admin user credentials
- Environment name - select an environment with the required database cluster from the list
- Nodes - choose a layer with the database cluster
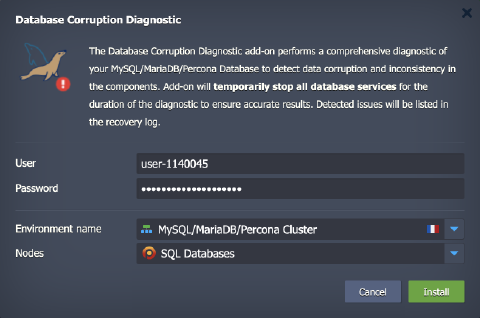 Click Install and wait a minute for the add-on to be installed.
Add-On Usage
- You can find the Database Corruption Diagnostic add-on under the Add-On tab for the database layer.
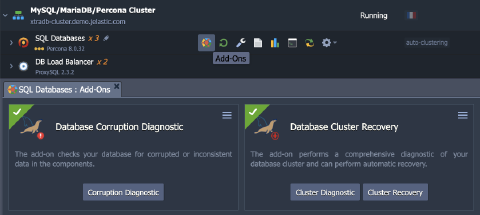 2. Click the Corruption Diagnostic button to run the diagnostic for your database.
Note: The operation will temporarily stop the database services, so be aware of the downtime before confirming.
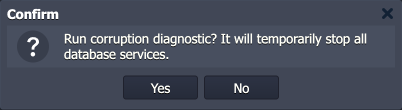 3. In a few minutes, you’ll see the diagnostic result in the pop-up notification with a link to the /var/log/db_recovery.log file with more details.
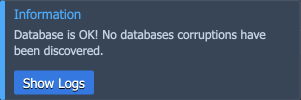 In case of detecting corrupted data, it is recommended to restore your database from a backup. You can use the Backup/Restore add-on to schedule regular backup creation, ensuring you always have a backup to restore your database in case of an emergency.