
Java Agent
This guide is maintained for Ruk-Com PaaS. Screens and options may vary by platform version and account permissions.
Confirm the environment, region and account permissions, and back up current settings before changing a production system.
Java agent is an interceptor in front of the application’s main method. Generally, it is a .jar package statically loaded in the PreMain-Class method, which implements a mechanism of re-defining the running classes’ content. The platform allows you to automatically launch such an applet at startup (just after the JVM is initialized).
Tip: All of the platform-certified Java stacks runs the Ruk-Com PaaS-gc-agent.jar Java agent as a part of the standard optimization. It performs periodical Full GC calls to reduce the memory usage and release unused RAM back to OS. Due to the platform contribution to the Java development, similar functionality is natively implemented since the 12th version of JDK.
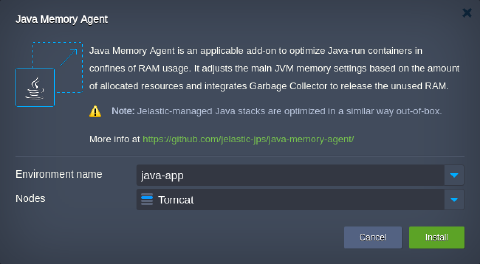
Follow the next steps to add a custom Java agent into a container:
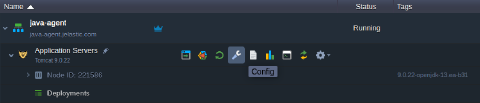
- Log in to the platform dashboard with your credentials and click the Config button for the application server in your Java environment:
 2. In the opened configuration file manager, you can Upload your Java agent .jar file to any preferable location. Use the Actions list at the top panel (for the current folder) or the context menu when hovering over the particular directory.
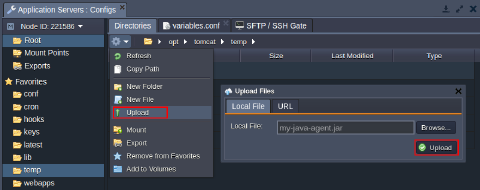 Provide a link to the required file or locate it on the local machine to Upload.
- Next, switch to the variables.conf file (the exact location vary based on the particular software stack) to provide custom variables and JVM options. Here, you can specify the javaagent parameter with a path to the required jar file. For example: javaagent:/opt/tomcat/temp/my-java-agent.jar
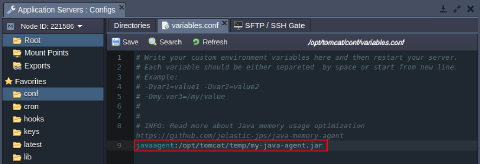 Don’t forget to Save the changes with the appropriate button above the editor.
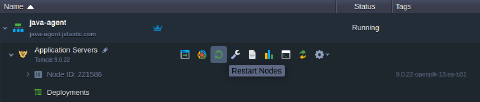
- To apply the newly added settings, you need to Restart Nodes of your application server layer using the same-named option.
 That’s all! Now, your custom Java agent is up and running.