Import Environment
This guide is maintained for Ruk-Com PaaS. Screens and options may vary by platform version and account permissions.
Confirm the environment, region and account permissions, and back up current settings before changing a production system.
So, let’s consider how to work with the platform import functionality in detail on the example of the exported environment.
- Click on the Import button at the top of the dashboard.
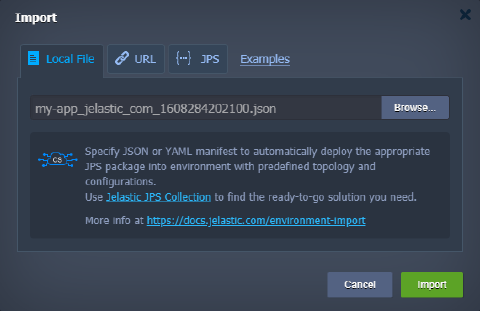
 2. Within the opened Import frame, you’ll see three tabs with different options for providing the required file:
- Local File - to select a locally stored manifest (via the Browse button)
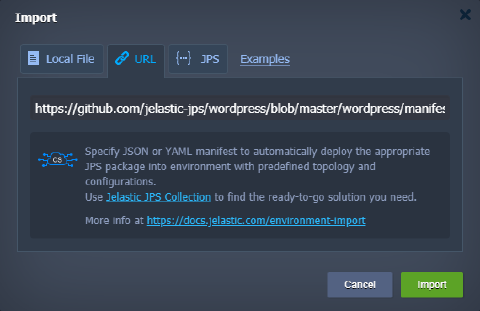
 * URL - to type in or paste a direct link to the required file
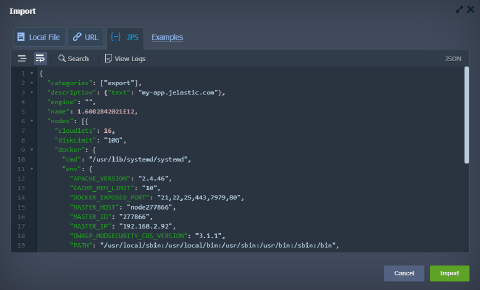
 * JPS - the built-in editor to either insert and edit code or to compose your own solution from scratch (refer to the JPS deployment and troubleshooting section below for more information)
To proceed, click the Import button in the bottom-right corner of the needed import type tab.
- After that, you’ll see the installation confirmation window with the corresponding package description. For the exported environment, it shows details on the source platform and export date.
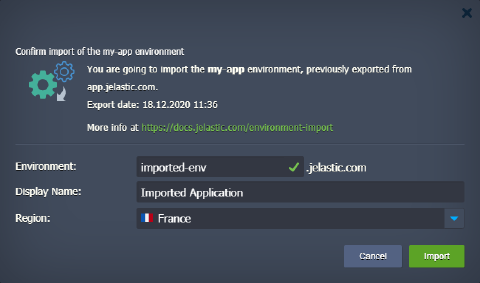 Within the fields inside, you need to specify the following parameters:
- Environment - domain name for your new environment
- Display Name - environment alias to be displayed at the dashboard instead of its domain (optional)
- Region - environment region to host the solution (if several ones are available)
Click Import when ready.
- Wait until the environment is created, deployed, and configured.
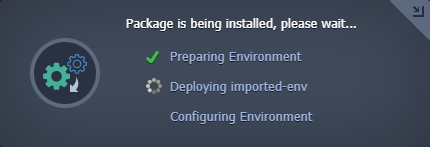
Tip: You can minimize this window and continue working with the dashboard without interrupting the importing process, which will proceed in the background.
- In a few minutes, you’ll see the installation success window.
Here, you can click Open in Browser to immediately check the result or Close this frame to reconfigure your environment and application according to the new platform’s settings (e.g., due to changed hostnames, IP addresses, etc.).
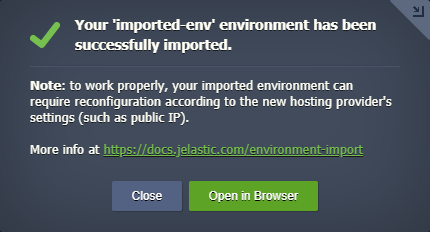 Also, check your email for information (like hostname, new administrator credentials for the nodes, etc.) on your imported environment.
That’s all! This way, you can automatically install any required solution to the chosen platform just in a few clicks, without the necessity to set up all configurations manually.
JPS Deployment & Troubleshooting
The Import > JPS option is most frequently used by developers who create JPS packages (e.g., for automation of the common tasks or implementation of complex CI/CD flows). Also, it is an excellent tool for the quick tuning and testing of the packages.
- Once added into this editor, your code will be automatically parsed for errors. If detected, they will be marked with the red cross icon before the corresponding line (hover over for some additional information on the issue). Besides, your code is safely retained in your browser’s local storage, so you can freely close the whole Import frame (e.g., to perform some other operations at the dashboard) and return to coding later on.
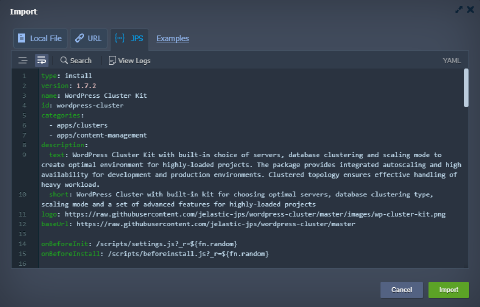 2. At the top of the frame, you can find several tools for a more comfortable work experience:
- Format JSON - automatically sets proper indentation and line feeds (not available for YAML)
- Wrap lines - brakes lines when they reach a frame border
-
Search - locates the needed information, with additional options to narrow the search results even further:
- Match case - enables a case sensitive search
- Regex - uses regular expressions for the search conditions specification
-
View Logs - opens a console to track your code execution
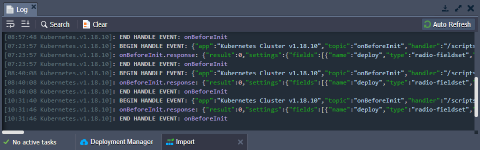
 3. The Import logs provide essential information for troubleshooting. If you face issues during the JPS packages creation, refer to this Import > JPS > View Logs tab and search for errors.