
Multiple Domain Names on Tomcat Server
This guide is maintained for Ruk-Com PaaS. Screens and options may vary by platform version and account permissions.
Confirm the environment, region and account permissions, and back up current settings before changing a production system.
Objective
This guide explains how to use Multiple Domain Names on Tomcat Server on Ruk-Com Cloud PaaS, with ordered procedures and practical verification points.
Before you begin
- Sign in with an account permitted to manage the relevant environment.
- Confirm the target environment, region and resources before saving changes.
- Create a backup or rollback plan before changing a production system.
Setting up multiple domain names on Tomcat Server increases the usability, performance, and scalability of your application and saves costs by eliminating the need to configure separate instances. Just make minor adjustments to the Tomcat configuration files as described below.
1. Log in to the Ruk-Com Cloud dashboard and click the button.New Environment

2. Within the environment topology, select the application server (such asTomcat10) and name your environment e.g.multibinding
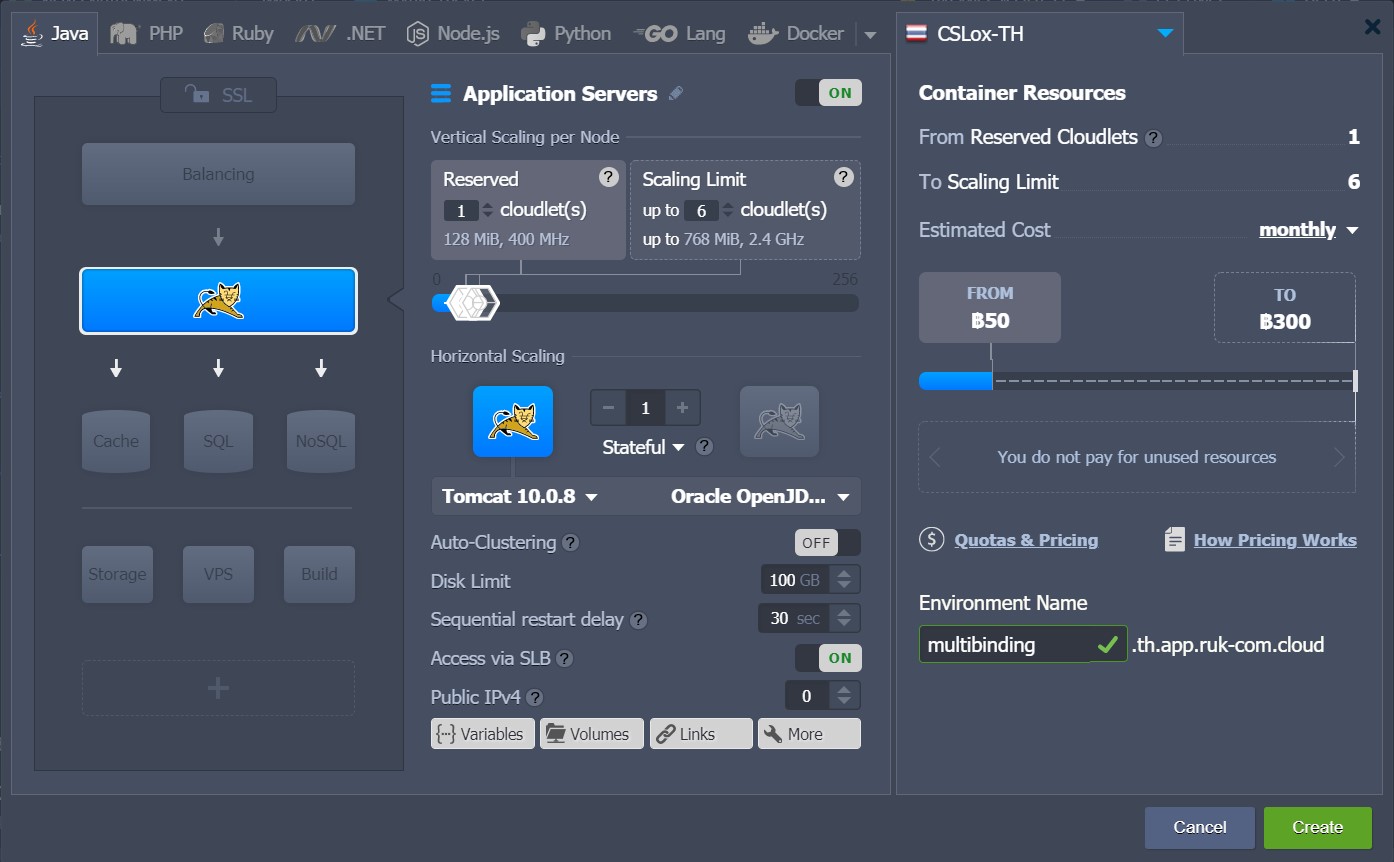
3. You can purchase and set up your own domain name. Override the default name by adding CNAME Records or by setting A Records.Read the custom external domain linking documentation by clicking this link.
4. Return to Ruk-Com Cloud, click the button.Settingsof the environment to which the domain is bound.
For example, The first domain we use is the nametomcatfirst.tkand for the second domain nametomcatsecond.tk
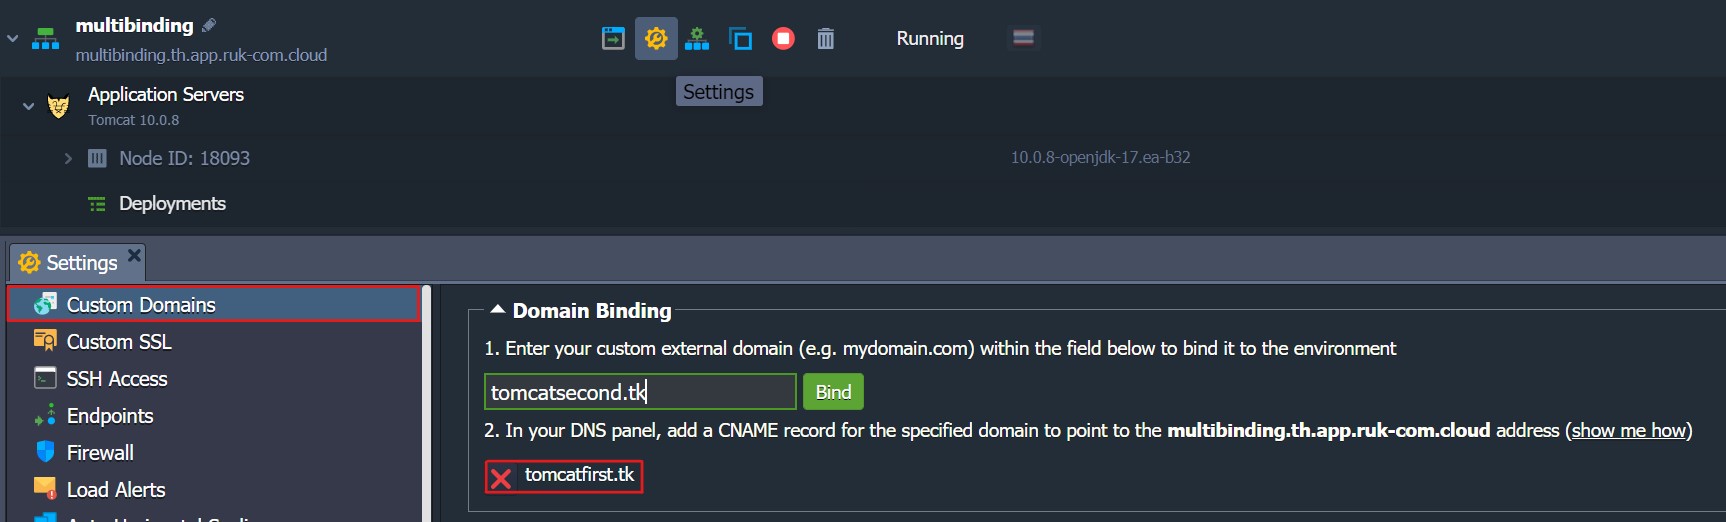
5. Deploying the project
- Upload your application file atDeployment Managerthen press the buttonDeploy to
In the example we useHello WorldIt is available in Deployment Manager by default.
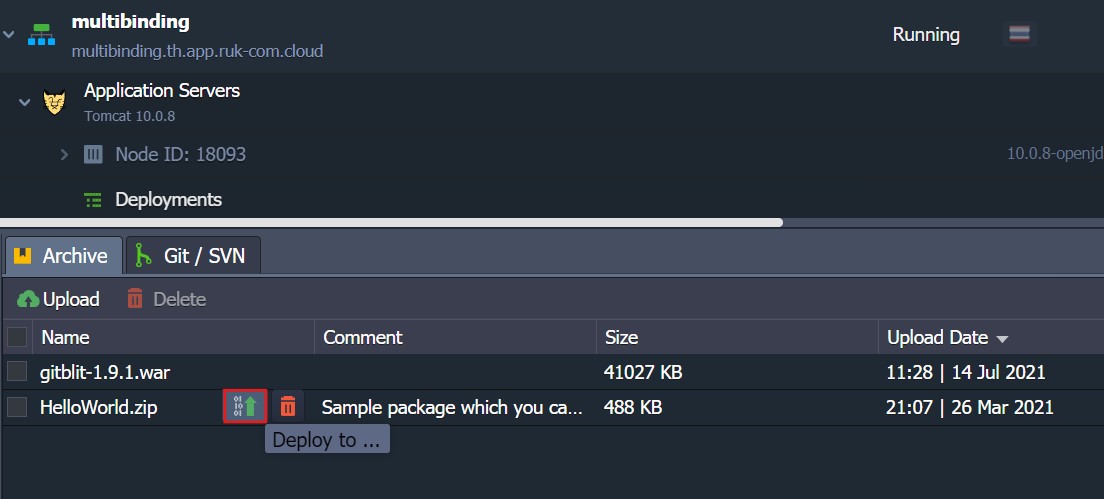
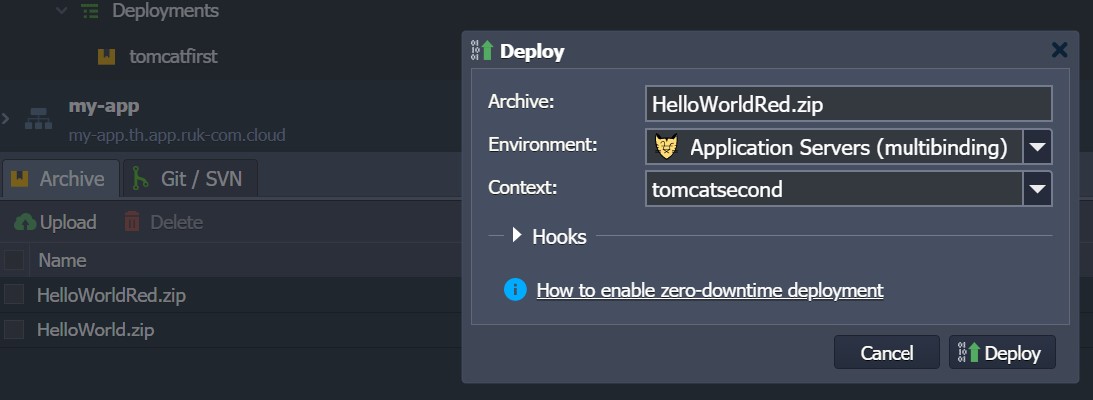
When the Deploy window appears, select your environment and set the context (in our case, tomcatfirst), then select Deploy button.
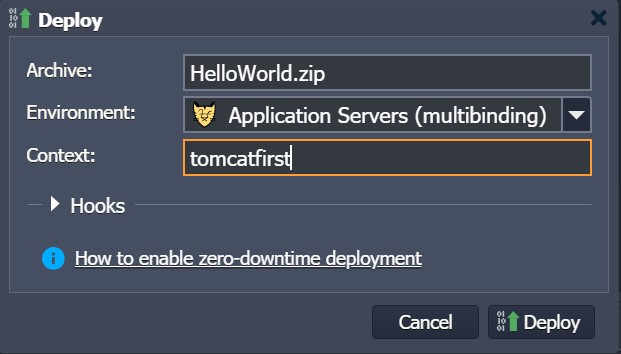
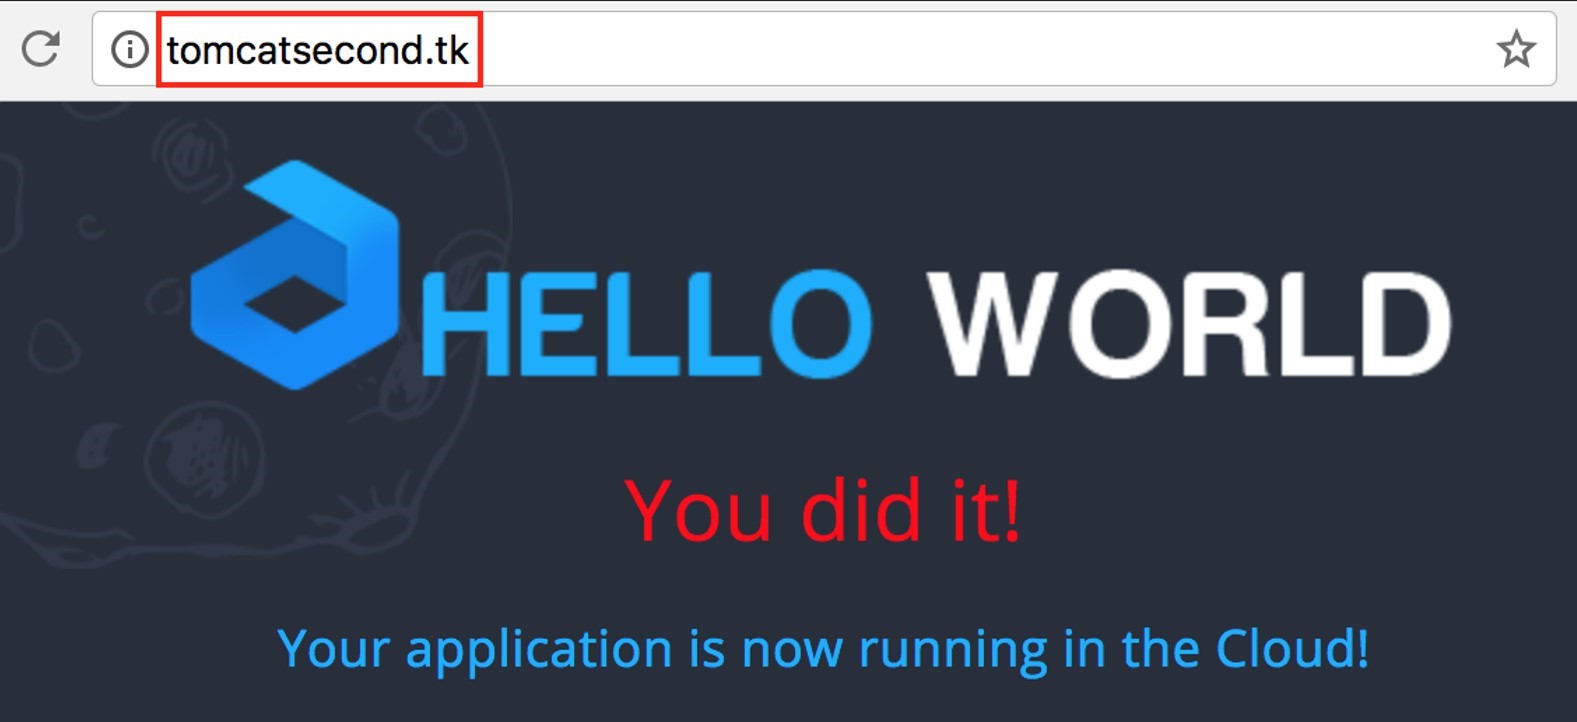
- Upload the archive for the second application, where we'll use the modified Hello World (the word "You did it!" changes color to red) to see the difference in the final step. Then deploy this application in the same environment but in a different context (e.g. tomcatsecond).
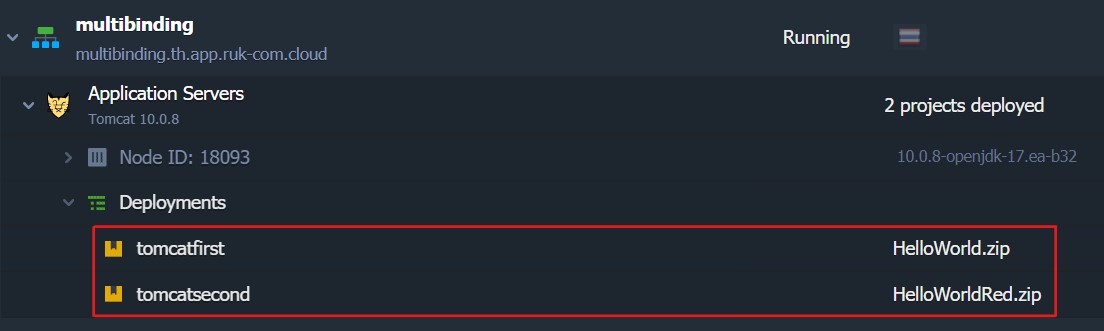
When the deployment is complete there will be two applications deployed in your environment.
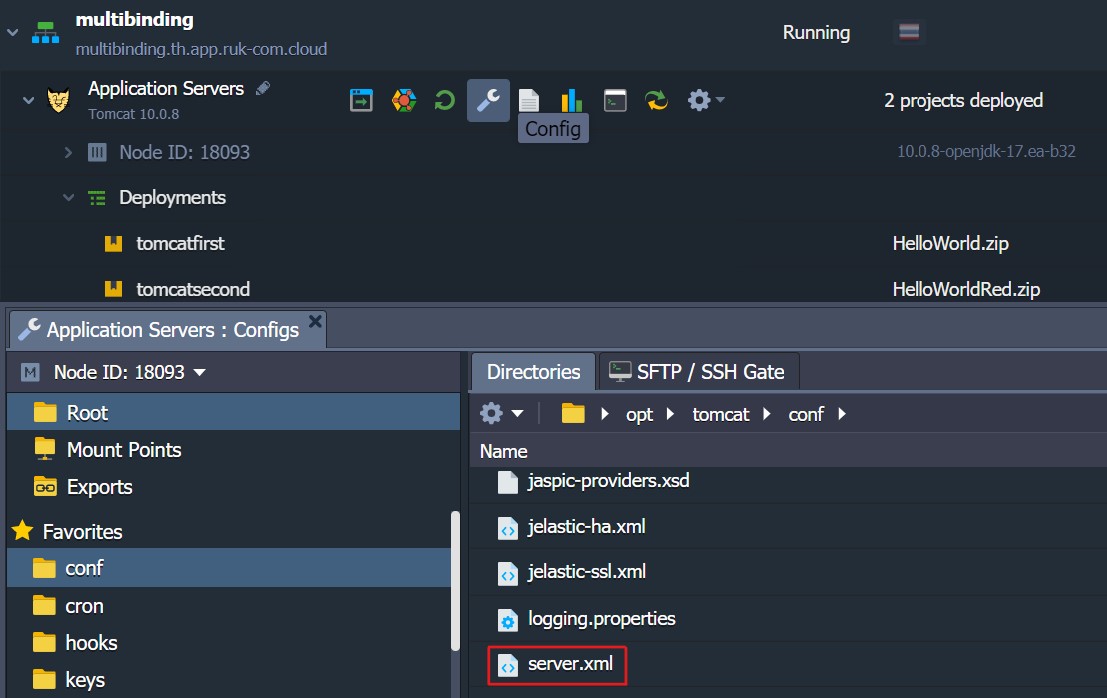
6. Click the buttonConfigfor Tomcat and go to fileserver.xml(Directory/opt/tomcat/conf)
Add a host tag for each domain you want to bind:
<Host name="external.domain.tld" appBase="webapps/context_name" autoDeploy="true">
    <Alias>external.domain.tld</Alias>
    <Context path="" docBase="${catalina.base}/webapps/context_name"/>
</Host>
In the example we add the following code to the server.xml file:
<Host name="tomcatfirst.tk" appBase="webapps/tomcatfirst" autoDeploy="true">
<Alias>tomcatfirst.tk</Alias>
<Context path="" docBase="${catalina.base}/webapps/tomcatfirst"/>
</Host>
<Host name="tomcatsecond.tk" appBase="webapps/tomcatsecond" autoDeploy="true">
<Alias>tomcatsecond.tk</Alias>
<Context path="" docBase="${catalina.base}/webapps/tomcatsecond"/>
</Host>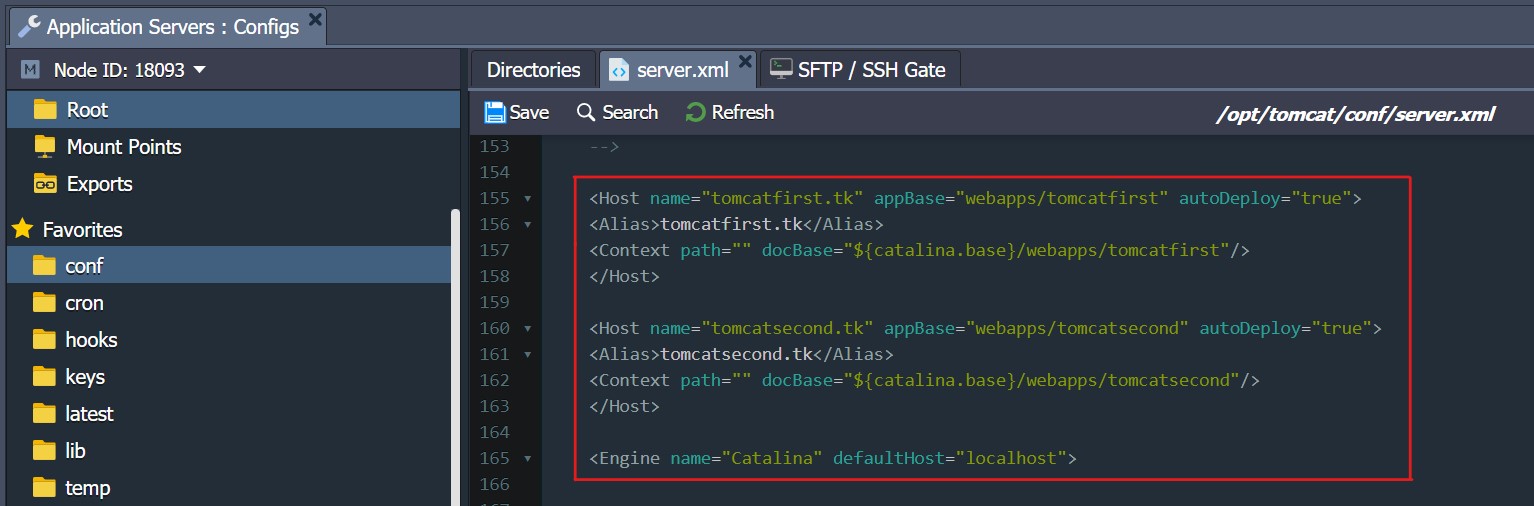
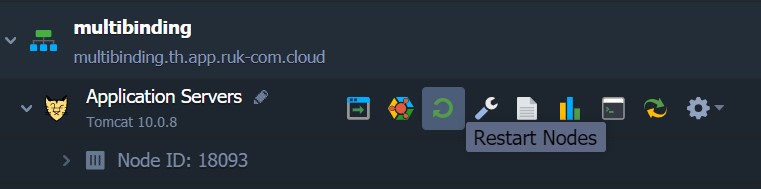
7. Save changes and restart Tomcat.
8. You can check the results of both applications by Opening them in a browser available through the specified domain name running on a single Tomcat server.

Note:If you want to redeploy the application to the already configured Tomcat server.xml instance, you must comment out the <Host> block before redeploying and uncomment it afterwards.