
Eclipse Plugin Application Deployment
This guide is maintained for Ruk-Com PaaS. Screens and options may vary by platform version and account permissions.
Confirm the environment, region and account permissions, and back up current settings before changing a production system.
Objective
This guide explains how to use Eclipse Plugin Application Deployment on Ruk-Com Cloud PaaS, with ordered procedures and practical verification points.
Before you begin
- Sign in with an account permitted to manage the relevant environment.
- Confirm the target environment, region and resources before saving changes.
- Create a backup or rollback plan before changing a production system.
Before starting You should consider the ability to deploy your Eclipse project as a web build. Dynamic/Static You can then create a new file by going toFile > New > Project
Tips:In case you don't have that option. Install the appropriate Web, XML, Java EE, and OSGi Enterprise Development plug-ins (you can install them using the Help > Install New Software menu).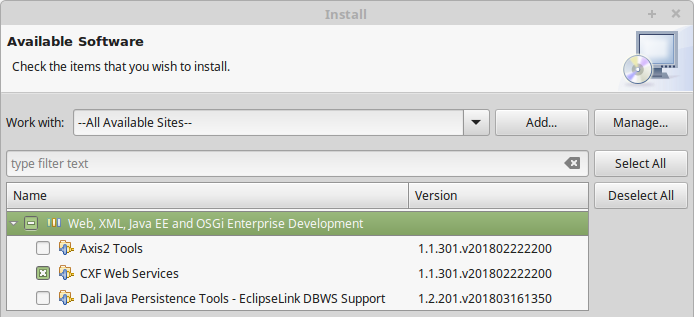
After installing the plugin You will see a new Ruk-Com PaaS component added to your Eclipse development environment interface intended for deploying new projects to remote environments.
So let's take a look at the function in more detail:
1. In the Eclipse Panel, you can deploy your project through the drop-down menu and select the option.DeployandDeploy as
- Use the optionDeployYou can redeploy the current project for the environment under the same name used for the previous project deployment.
- If you have never deployed an application before The option should be used.Deploy asIn this case, the window will list the Java environments available in your account. You can select project environments and context for deployment.
2. Additionally, application deployment can be started by selecting the relevant Eclipse project within the section.Project Explorerand selectDeploy project to Ruk-Com PaaSorDeploy project to Ruk-Com PaaSfrom the menu (right-click on your project). The functionality is the same as the related options described above.