
Session Replication via Memcached
This guide is maintained for Ruk-Com PaaS. Screens and options may vary by platform version and account permissions.
Confirm the environment, region and account permissions, and back up current settings before changing a production system.
The platform provides Session Replication between instances of web-servers with a help of multicast. But also you can use Session Replication via Memcached.
To use memcached for session replication follow this instruction.
Create Environment
-
Log into the PaaS account.
-
Click Create environment.
-
In the Environment topology window choose two or more servers you want to use (for example, two instances of Tomcat) and Memcached node. Type the name of the environment (for example, memcachedreplication) and click Create.
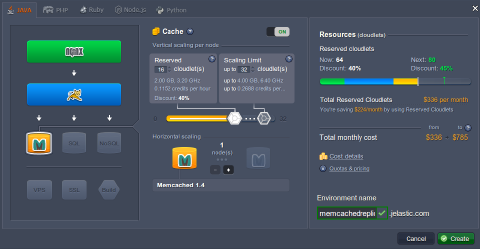 4. In a minute your environment will be created.
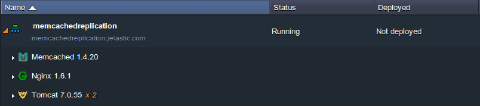
Configure application server
- Download .jar file of Memcached session manager. As the example we used memcached-session-manager-1.6.2.
Also download memcached-session-manager-tc7-1.6.2.jar, spymemcached-2.8.4.jar, msm-kryo-serializer-1.6.1.jar, kryo-1.03.jar, reflectasm-0.9.jar, kryo-serializers.jar, joda-time.jar and minlog-1.2.jar.
- Click Config for Tomcat.
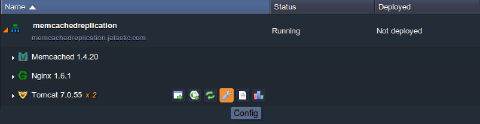 3. In the opened window choose lib folder and upload the .jar file you’ve just downloaded.
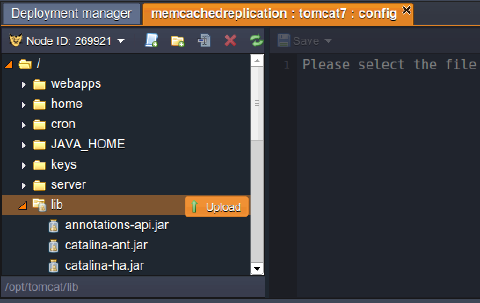 4. Choose server folder and open context.xml file.
- Update context.xml so that it contains the Manager configuration for the memcached-session-manager, like this:
xml Copy
<Context path="" docBase="ROOT">
 <Manager className="de.javakaffee.web.msm.MemcachedBackupSessionManager"
   memcachedNodes="n1:host:11211"
   requestUriIgnorePattern=".*\.(png|gif|jpg|css|js)$"
   sessionBackupAsync="false"
   sessionBackupTimeout="100"
   copyCollectionsForSerialization="false"
   transcoderFactoryClass="de.javakaffee.web.msm.serializer.kryo.KryoTranscoderFactory"
   customConverter="de.javakaffee.web.msm.serializer.kryo.JodaDateTimeRegistration"
   />
</Context>
You can use any other serialization strategy according to your needs, in our case we use Kryo, an extremely fast binary serialization library.
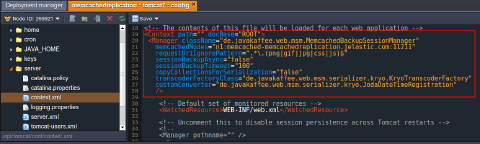 6. In the string memcachedNodes add your memcached host and default port (11211). In our case we have:
n1:node.example.ruk-com.cloud:11211
In order to get your memcached host, simply add the ‘memcached-’ prefix to your environment hostname (which is displayed in a string just under the name of your environment).
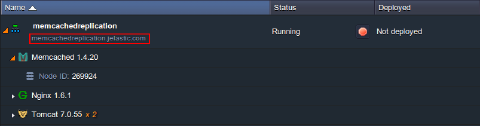 7. Save the changes and Restart your server node (in our case Tomcat).
That’s all. Now your have a high available cluster with all the advantages of Memcached.