
NetBeans Plugin Installation
This guide is maintained for Ruk-Com PaaS. Screens and options may vary by platform version and account permissions.
Confirm the environment, region and account permissions, and back up current settings before changing a production system.
Objective
This guide explains how to use NetBeans Plugin Installation on Ruk-Com Cloud PaaS, with ordered procedures and practical verification points.
Before you begin
- Sign in with an account permitted to manage the relevant environment.
- Confirm the target environment, region and resources before saving changes.
- Create a backup or rollback plan before changing a production system.
To get started with the plugin you will need:installandConnect to your Ruk-Com Cloud account.Within NetBeans Settings, you can get started with NetBeans IDE by following the instructions below.
Installing the plugin
1. InstallNetBeans IDELatest version (Java EEorAllbundle) and go to the menuTools > Plugins
2. Switch to the tabAvailable Pluginsand enter a nameRuk-Com PaaSin the channelSearchIn the list for you to chooseRuk-Com PaaS Netbeans Pluginand click the buttonInstall
3. In the windowNetBeans IDE Installerthat opens, click the buttonNext
4. Read and accept the terms of the license agreement. Then check accept in the box below.
5. After successful installation, close this window by clicking the check mark.Finish
More:before the last step You may need to verify the certificate for the Ruk-Com PaaS plugin. Click the button.Continueto continue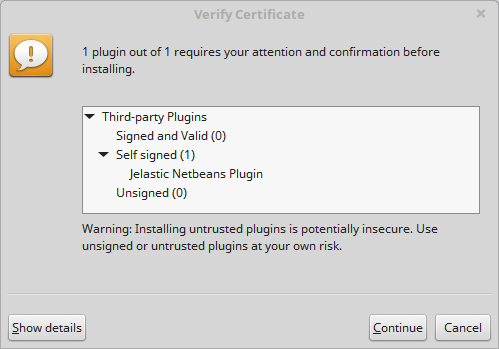
You now have the Ruk-Com PaaS plugin in your NetBeans IDE.
Connecting your Ruk-Com Cloud account
1. Go to the menuWindow > Services
2. In the window that opens, right-click on the menu.Cloudand clickAdd Cloud
3. In the Cloud Providers list, selectRuk-Com PaaSand clickNext
4. In the window that opens, you specifyDisplay Name(your desired name, e.g.myRuk-Com PaaS) selectProviderprovider through the drop-down menu or by typing in your hosting provider's domain name. Then fill in the information in the fields.loginandpasswordwith your credentials
5. You can expand the list.Cloudto see the clouds you added.
Note:Deleting your cloud from NetBeans IDE can be done atTools > Cloud ProvidersIn the window that opens, click the button.Remove Cloud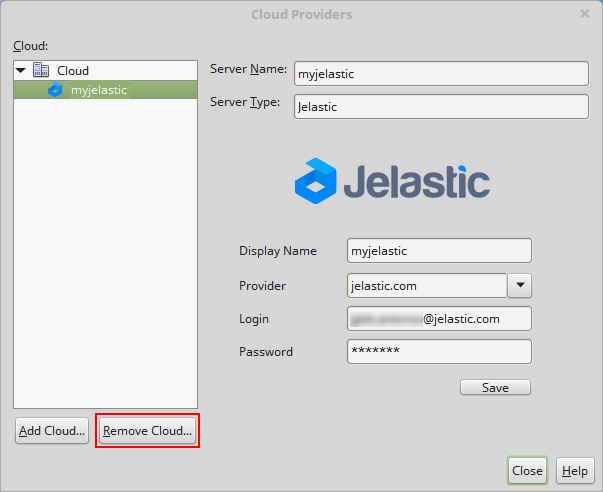
Now, once you have installed the Ruk-Com PaaS NetBeans plugin and connected. You can carry outenviornment managementand deploy the project