
How to connect PostgreSQL to a Java Application
This guide is maintained for Ruk-Com PaaS. Screens and options may vary by platform version and account permissions.
Confirm the environment, region and account permissions, and back up current settings before changing a production system.
Objective
This guide explains how to use How to connect PostgreSQL to a Java Application on Ruk-Com Cloud PaaS, with ordered procedures and practical verification points.
Before you begin
- Sign in with an account permitted to manage the relevant environment.
- Confirm the target environment, region and resources before saving changes.
- Create a backup or rollback plan before changing a production system.
PostgreSQL is a powerful open source SQL database with an object-relational structure. and many robust features to ensure performance and reliability. In this chapter we will show you how to connect a PostgreSQL database and host Java application to the Ruk-Com Cloud.
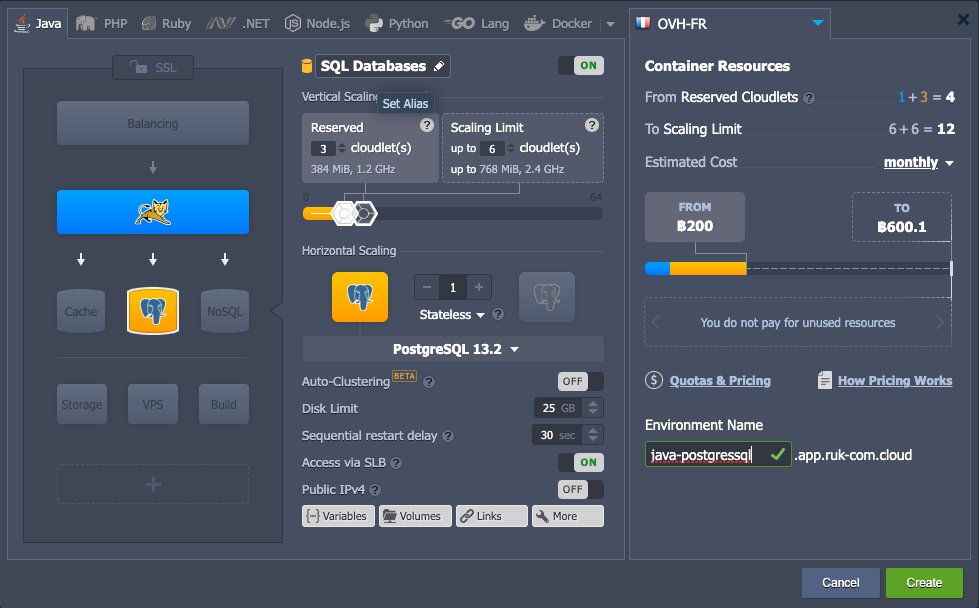
1. Log in to the Ruk-Com Cloud dashboard.Create EnvironmentNew Java Application Server and select the PostgreSQL database.
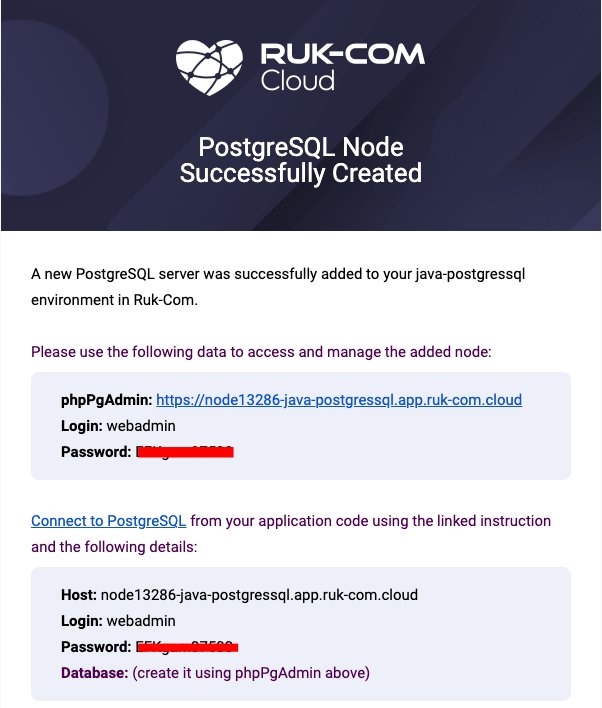
2. After creation you will receive an email with database access credentials (host login and password).
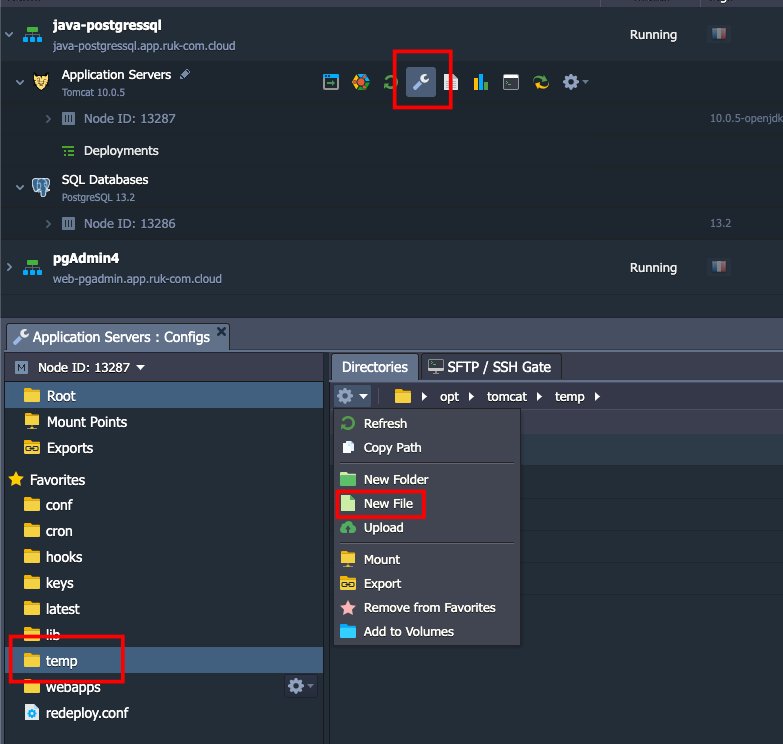
3. Click the Config button next to your server application. (in our case Tomcat) to accessconfiguration file managerand create a filemydb.cfgnew in folder /opt/tomcat/temp
4. Specify the following connection details in the mydb.cfg file:
host=jdbc:postgresql://{host}/{db_name}
username={user}
password={password}
driver=org.postgresql.Driver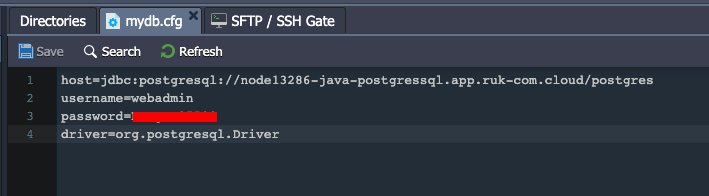
and this part
- {host} - link to the database node without the protocol part
- {db_name} - Name of the database. (in our case, postgres)
- {user} and {password} – Admin user credentials.
Note:
Normally for production use it is recommended to redefine restricted users via phpPgAdmin for applications with access to specific databases only.
However, for this example we will use the default user (i.e. webadmin with full administrative access to the server) and the database (postgres).
5. Below you will see the application code used in this tutorial.
package connection;
import java.io.IOException;
import java.sql.Connection;
import java.sql.DriverManager;
import java.sql.SQLException;
import java.sql.Statement;
import java.text.SimpleDateFormat;
import java.util.Date;
import java.util.Properties;
import java.util.logging.Level;
import java.util.logging.Logger;

public class DbManager {
public String date = new SimpleDateFormat("dd-MM-yyyy-HH-mm").format(new Date());
private final String createTable = "CREATE TABLE \"" + date + "\" (id INT, data VARCHAR(100));";
private static final int LoginTimeout = 10;
public DbManager() {

}

public Connection createConnection() throws IOException, ClassNotFoundException, SQLException {
Properties prop = new Properties();
System.out.println("\n\n=======================\nJDBC Connector Test " + date);
System.out.println("User home directory: " + System.getProperty("user.home"));
String host;
String username;
String password;
String driver;
try {
prop.load(new java.io.FileInputStream(System.getProperty("user.home") + "/mydb.cfg"));
host = prop.getProperty("host").toString();
username = prop.getProperty("username").toString();
password = prop.getProperty("password").toString();
driver = prop.getProperty("driver").toString();
} catch (IOException e) {
System.out.println("Unable to find mydb.cfg in " + System.getProperty("user.home") + "\n Please make sure that configuration file created in this folder.");
host = "Unknown HOST";
username = "Unknown USER";
password = "Unknown PASSWORD";
driver = "Unknown DRIVER";
}

System.out.println("host: " + host + "\nusername: " + username + "\npassword: " + password + "\ndriver: " + driver);
Class.forName(driver);
System.out.println("--------------------------");
System.out.println("DRIVER: " + driver);
System.out.println("Set Login Timeout: " + LoginTimeout);
DriverManager.setLoginTimeout(LoginTimeout);
Connection connection = DriverManager.getConnection(host, username, password);
System.out.println("CONNECTION: " + connection);
return connection;
}

public String runSqlStatement() {
String result = "";
try {
Statement statement = createConnection().createStatement();
System.out.println("SQL query: " + createTable);
statement.execute(createTable);
} catch (IOException | ClassNotFoundException ex) {
Logger.getLogger(DbManager.class.getName()).log(Level.SEVERE, null, ex);
System.out.println("Exception occurred: " + ex);
result = ex.getMessage();
} catch (SQLException ex) {
ex.printStackTrace();
result = ex.getMessage();
}
return result;
}
}
6. You can use the following code to deploy for testing.
https://node.example.ruk-com.cloud/public.php?service=files&t=18753849900d2461b3162bd4355f834d&download
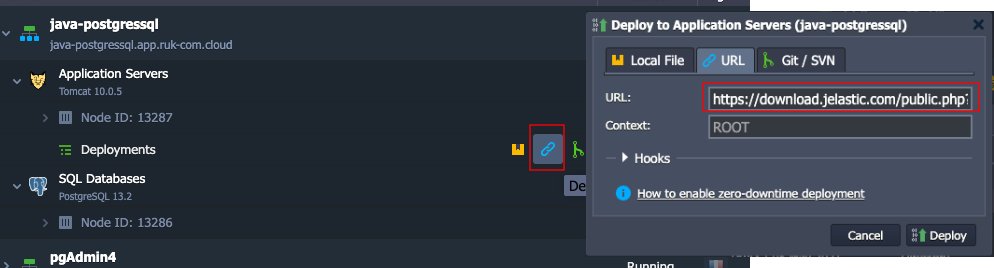
Note: Our sample application has a Library.jdbc-connectorFor the PostgreSQL database connection already exists. However, for other projects you may need to upload the Libary to the folder. webapps/{app_context}/WEB-INF/lib on your server manually (Don't forget to restart the server later to save the value changes.)
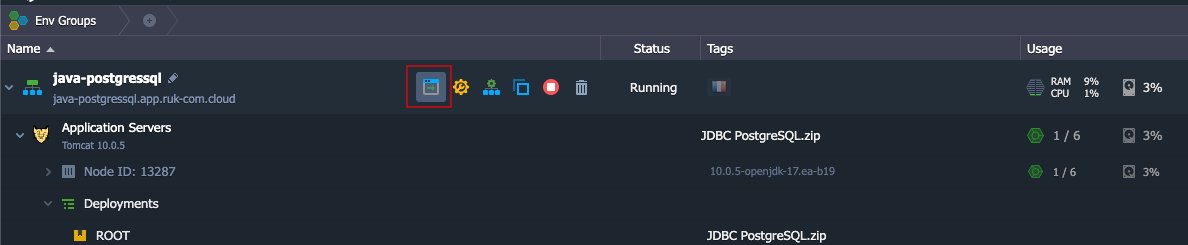
7. After successful installation, click Open in Browser next to the server application.
8. Within the open browser tab, click the Create test table in your database button.
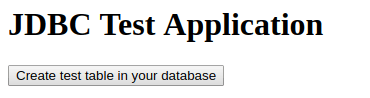
Your request will be processed shortly with a result message displayed.
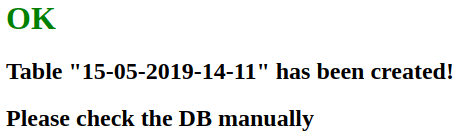
9. Let's access our database throughphpPgAdminThis will ensure that the new table is created. (Access credentials are in the email described in the second step of this guide.)

As you can see, the new table (named by the creation date and time) has been successfully added by our Java application. The connection was successfully created! Try using the linkglobally-available Ruk-Com service providersLook at one of these.