
Import and Export Dump Files to MongoDB
This guide is maintained for Ruk-Com PaaS. Screens and options may vary by platform version and account permissions.
Confirm the environment, region and account permissions, and back up current settings before changing a production system.
You can import and export dump files to MongoDB in two ways:
Note: If you would like to use MongoDB client, you need to have public IP feature enabled in your MongoDB node.
MongoDB Client (Database Master)
Dump Import to MongoDB
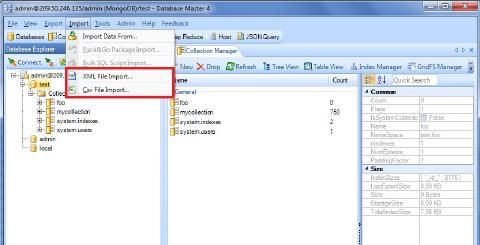
- After remote connection to MongoDB click on Import in the desktop client (we use Database Master 4 as an example) and select the type of file you want to import.
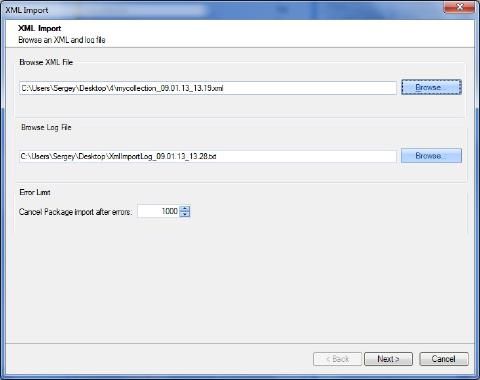
 2. Browse XML/Csv file, you want to import. Then browse a log file.
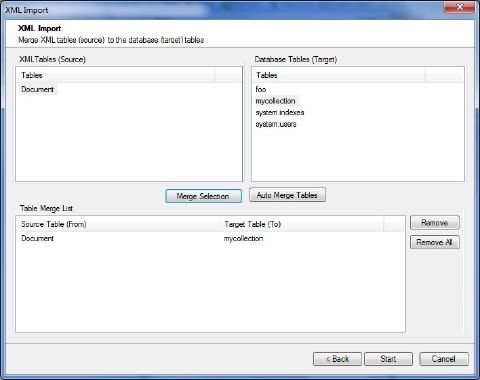
 3. Merge source tables to the target tables.
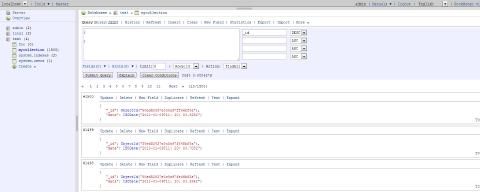
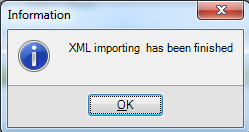 4. Now you can go back to the platform’s dashboard, open MongoDB in a web browser and find imported dumps in the test directory.
Dump Export from MongoDB
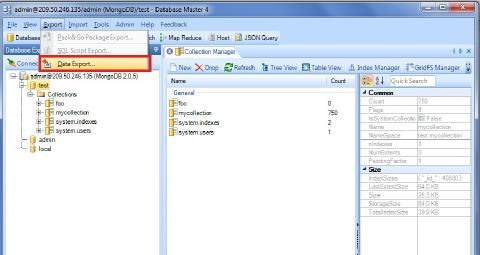
- Click Export > Data Export.
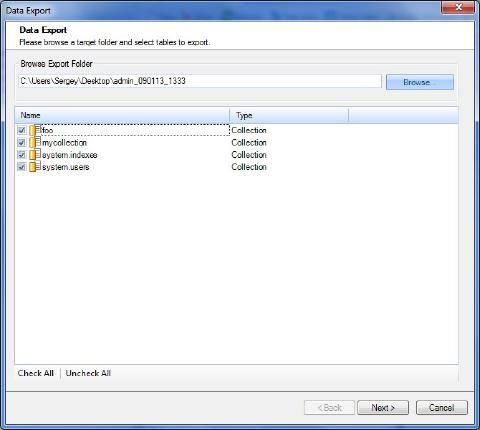
 2. Browse a target folder and select tables to export.
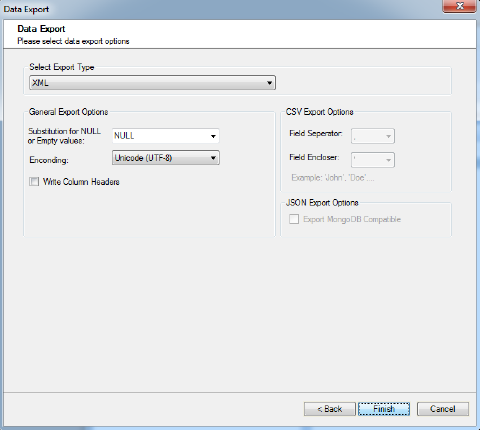
 3. Select data export options and click Finish.
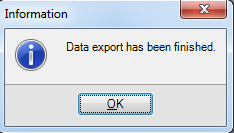
 4. Data export is successfully finished. You can check your target folder to ensure that everything is ok.
RockMongo Admin Panel
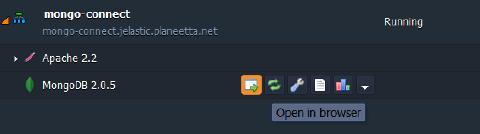
- Click Open in Browser button for MongoDB node in your enviroment:
 2. In the opened window you’ll be requested to log in with your credentials, which you’ve received within email after creating MongoDB node.
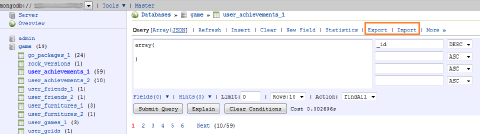
- To Export or Import dump files use the corresponding buttons:
 Hope this instruction will be useful for you.