
MongoDB Replication and Automated Failover Configuration Guide
This guide is maintained for Ruk-Com PaaS. Screens and options may vary by platform version and account permissions.
Confirm the environment, region and account permissions, and back up current settings before changing a production system.
Objective
This guide explains how to use MongoDB Replication and Automated Failover Configuration Guide on Ruk-Com Cloud PaaS, with ordered procedures and practical verification points.
Before you begin
- Sign in with an account permitted to manage the relevant environment.
- Confirm the target environment, region and resources before saving changes.
- Create a backup or rollback plan before changing a production system.
Replica set is a term used for defining a database cluster of multiple nodes with automatic replication and failover configuration between them. Such structures usually require an odd number of members, whether or not there is a link # Arbiter node, to ensure correct selection of the master database. This selected database processes all incoming write operations by storing the associated data within an oplog, which can be accessed and replicated by SECONDARY replica members for use with datasets. This way all servers display the same content and ensure their availability.
In the event of an unexpected issue that causes the primary database to stop working (for example, due to hardware failure or a disrupted connection), a reselection process is automatically initiated to help restore normal application functionality without the need for manual intervention.
This way, the simulated data set inherits the benefits of link #.usual replication(e.g. failover duplication, increased data availability and readability, disaster recovery, etc.) and eliminates the complexity of managing many separate databases simultaneously.
So here's a simple guide that will show you how to create and configure a MongoDB replica set with all 3 members - this aspect has been considered to ensure adequate data security and is sufficient to handle the required I/O operation volumes for most commonly used applications. Below we know how to prepare a proper Env setting authentication between database nodes. Configure the replication yourself and make sure everything is optimized properly.
Creating the Environment
To get started, you will need at least 3 MongoDB nodes to configure a replication set. So, let'screate such an environmentIn this example we will allocate a MongoDB instance of version 4.0.10 within a single Env.
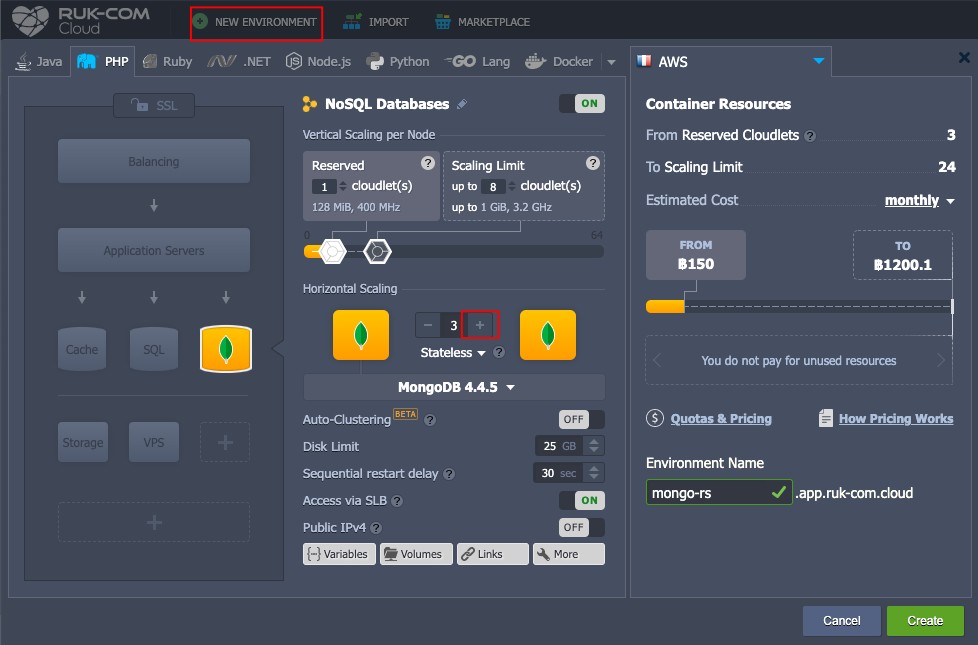
If necessary, change the Env name and link # destination Region. When the installation is finished, you need to take care about the security of the nodes communication. With the help of the file authentication key
Add Authentication Key file
Authentication is an important security assurance process that forces each member of the replica set to identify itself during internal communication using a file. Special authentication key Let's create one to protect the data within your database from illegal access:
1. Log in to the database node viaWeb SSH
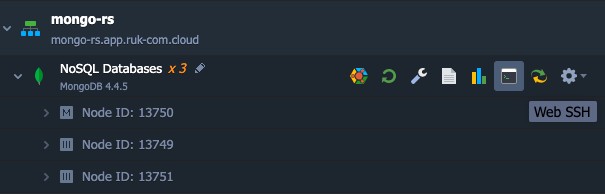
2. Use your own key file or create one with link # openssl (key size in bytes like 741 and name like my.key) with the command:
openssl rand -base64 741 > my.key3. Now you need to distribute the newly created key file to all MongoDB instances:
- Click on the Config button next to your database node to access the # File Manager link.
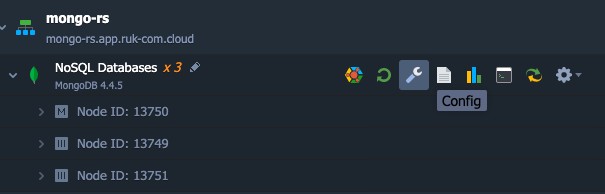
- In the configuration tab that is open, locate the my.key file under the path: /home/Ruk-Com PaaS/my.key then open Then copy the contents to the clipboard.
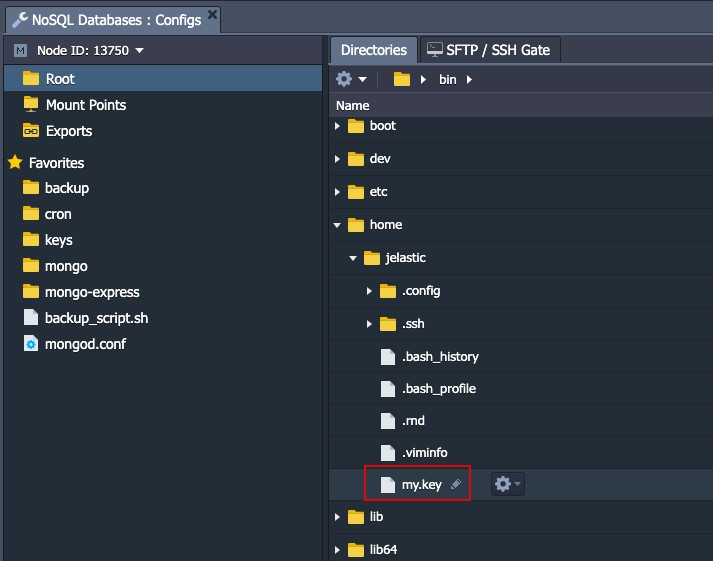
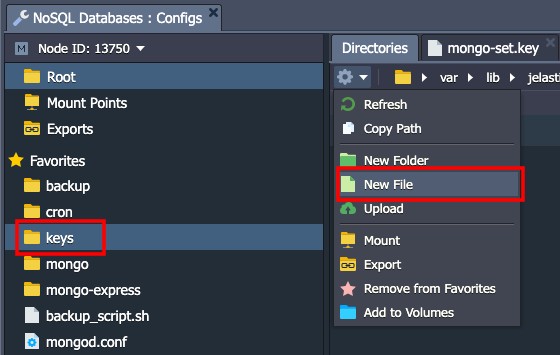
- In the keys directory (the full path is /var/lib Ruk-Com PaaS/keys), create a file that the MongoDB instances will use to authenticate each other, such as mongo-set.key.
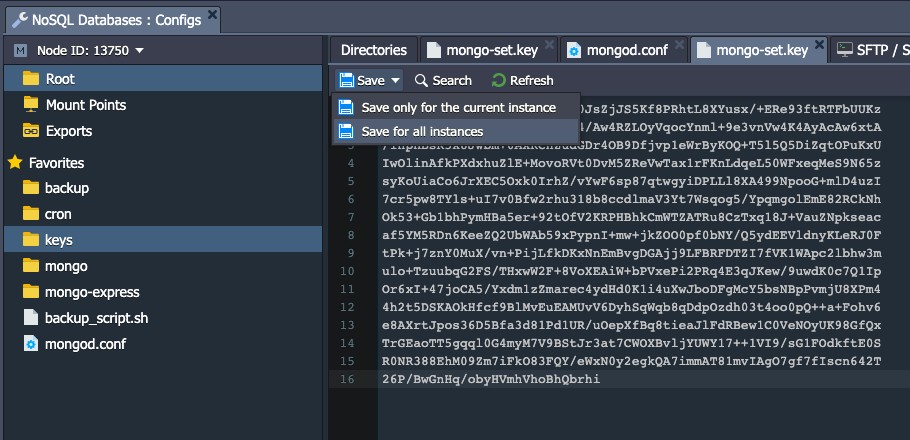
- Paste the clipboard contents and make changes by saving the entire instance, so the mongo-set.key file So it is distributed to all MongoDB nodes.
Configure MongoDB Replication
Since security is one of the main data management principles, this can be ensured. Finally, you can proceed to manually configure the replica data set.
1. Switch to file.mongod.confInside the etc folder inside the configuration tab Same for MongoDB node. Scroll down to the replication section, then uncomment and add the following string specifying a unique name for your replication set (for example, db-replication):
replSetName: db-replication2. Add the keyFile parameter to the security section, which should specify the path to your key file (which in our case is /var/lib/Ruk-Com PaaS/keys/mongo-set.key)
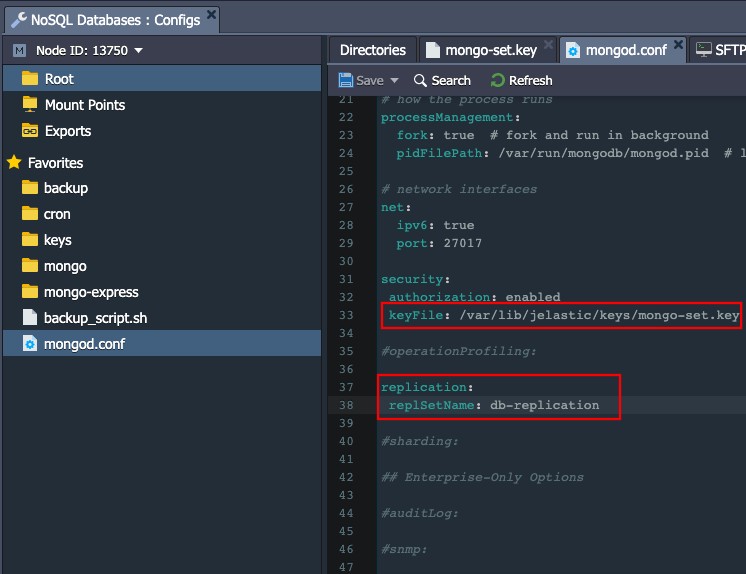
3. Save changes for the entire instance immediately using the appropriate button in the editor window.
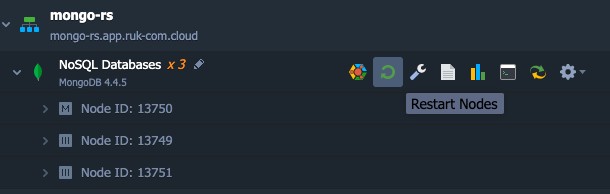
4. Restart your database node to use the new configuration parameters.
Note:
Note that once you complete the replication setup, the new master database selection process is run during a full node restart or master node restart (i.e. a master database shutdown).
5. Then access the MongoDB server which you think will be used as the master via the SSH protocol.
Note:
After selecting the master database, other replica data set members will not be accessible for direct write operations. This means that change Configuration and other things (including access to the web admin panel) can only be performed for the current master node. Therefore, you will need to change the connection string in your application to the new primary node unless you prioritize for all replication set members specifying one node as the primary node.
6. Access the database which should be replicated with the appropriate administrator user credentials:
mongo -u {user} -p {password} {DB_name}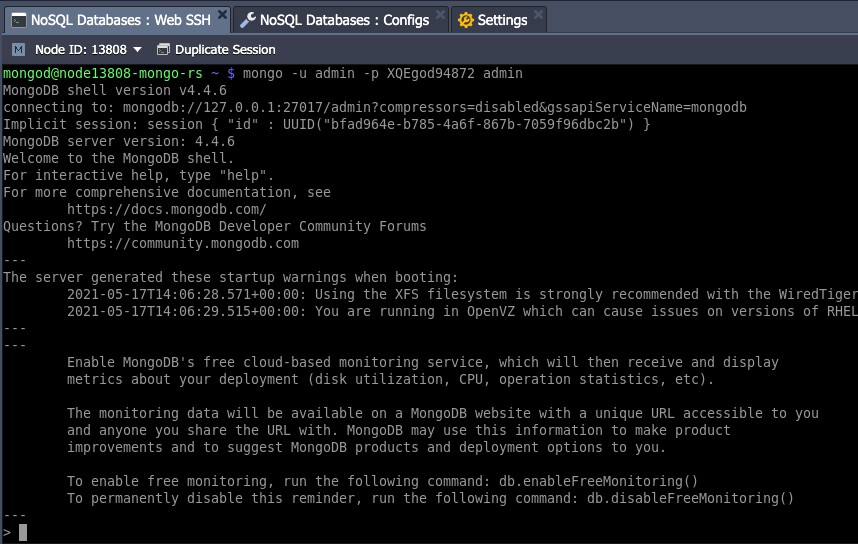
Where :
- {user} – Username of the administrator. (sent to your email, default is admin)
- {password} – Password for the relevant database user. (can be found in the same email)
- {DB_name} – The name of the database that you want to replicate within this replication set (we will use admin by default).
Note:
In the event that new selection occurs The administrator user credentials to log into the new master database are the same as you used for the old database.
7. Once the connection is established, execute the next line to define parameters for the current MongoDB node and start the replicat set:
config = {_id : "{replica_set}", members : [{_id : 0, host:"{current_db_ip}:27017"},]}
rs.initiate()
Obviously, the values in brackets should be substituted with the appropriate data, namely:
- {replica_set}– name of your replicating database group, specified at the beginning of this section (db-replication in our case)
- {current_db_ip}– IP address of the chosen database container
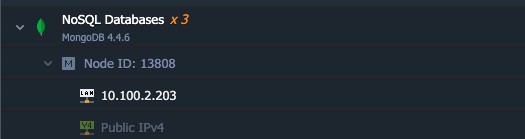
Example :
config = {_id : "db-replication", members : [{_id : 0, host:"10.100.2.203:27017"},]}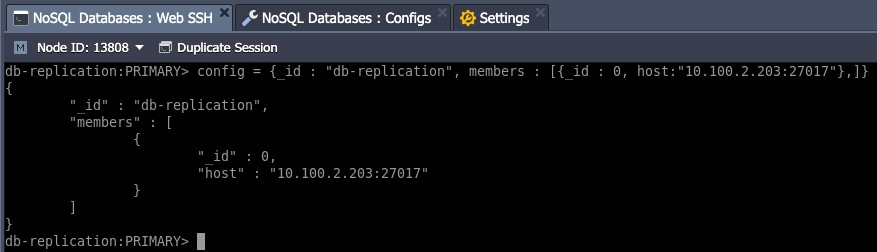
and later enter the command
rs.initiate()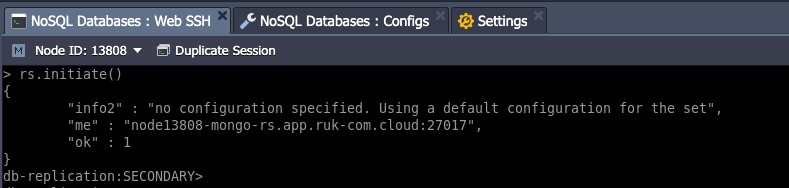
8. Execute the following command for the remaining databases, where {db_ip} is each database's IP address:
rs.add("{db_ip}:27017")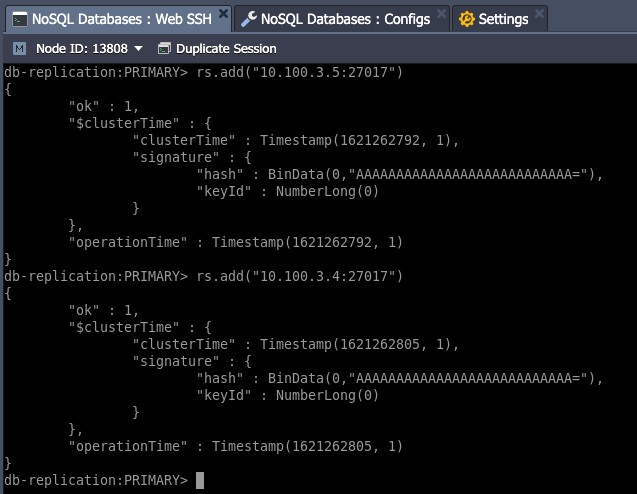
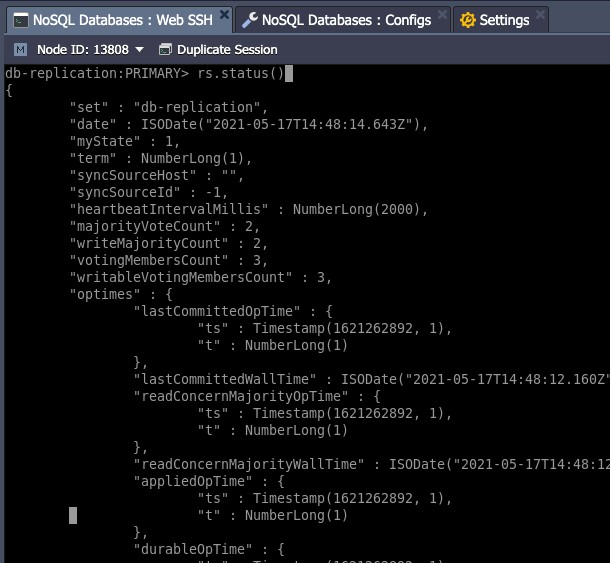
9. After you have added all the simulation members. You will get a fully functional simulation suite. In case you want to make sure that everything is configured correctly, run the commandrs.status()to get all the information about your simulation data set.
ReplicaSet Arbiter
Replication is more reliable if there is an odd number of members in the replication set. In case you create the same number of members (nodes), it is better to add an Arbiter node, which maintains the composition by responding to heartbeats and selection requests from other simulation set participants.
- The Arbiter does not store data in it and must vote in the selection when a node fails.
- Arbiter is a lightweight process and therefore does not use many resources.
- Arbiter simply exchanges user credentials between a set of encrypted replicas.
- It is recommended to run Arbiter on a separate node to achieve high availability.
Let's add some additional Arbiter nodes to our simulation dataset:
1. Expand the database cluster horizontally with a single node:
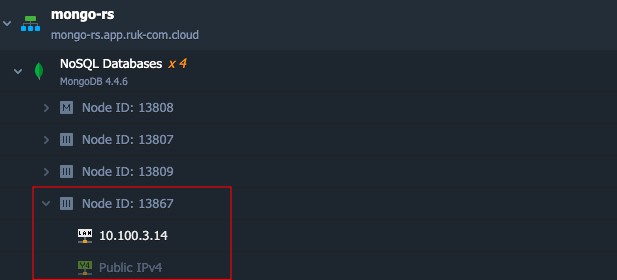
2. In the directorykeysCreate a key file.mongo-set.keyand paste the contents of similar files from other previously configured database nodes.
3. Changemongod.conf:
- Uncomment the replication section and add replSetName (e.g. replSetName: db-replication).
- Add the keyFile parameter to the security section (in our case it is /var/lib/Ruk-Com PaaS/keys/mongo-set.key)
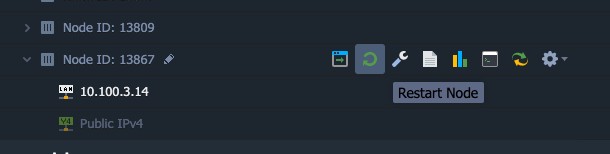
4. Restart the newly added node to apply the configuration parameters.
Note:
Do not restart all nodes as this will cause the master to be re-selected. Unless you specify a priority to force a specific node to be selected as the master database node.
5. The Arbiter is now ready to be added to the replication set. At the PRIMARY node issue command to add the arbiter to the cluster:
rs.addArb("{db_ip}:27017")where {db_ip} is the IP address of the newly added node.
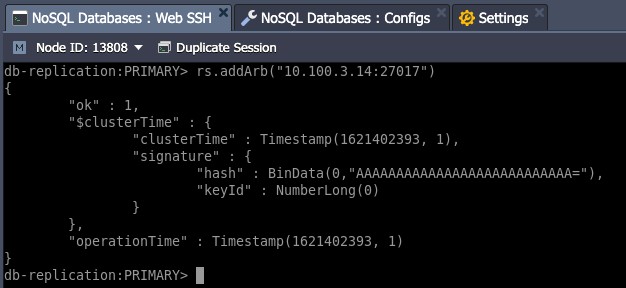
6. Finally, check if the newly added node has become an Arbiter. To do so, log in to the new node via SSH and connect to the MongoDB instance with the credentials from the email you received when creating the node.
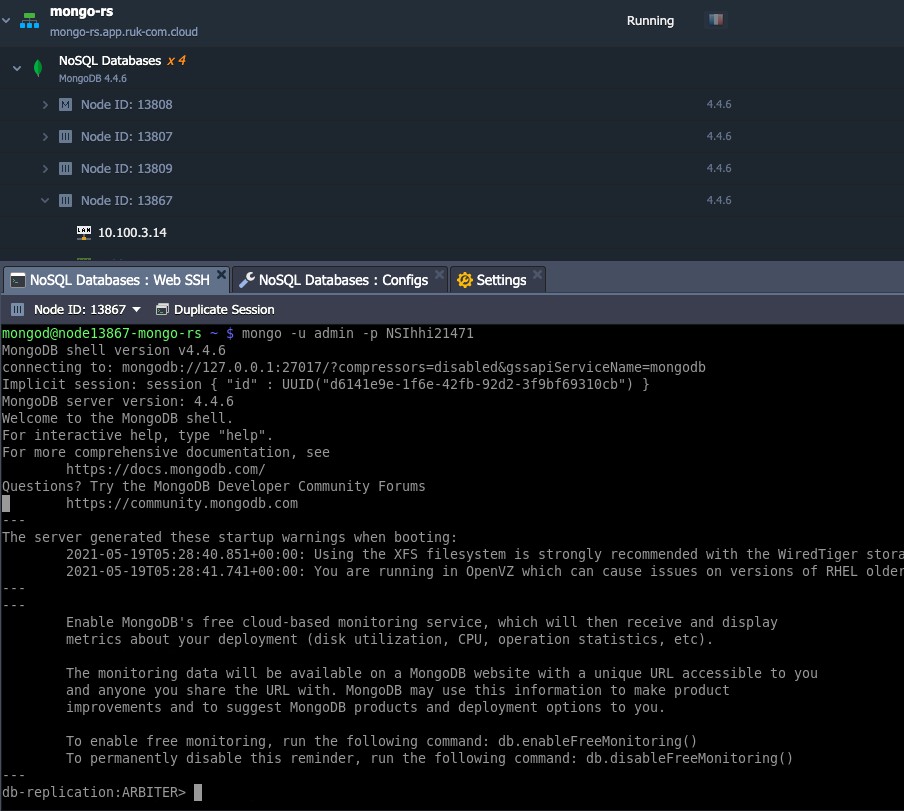
As you can see, the newly added node acts as Arbiter ofdb-replicationTo ensure that all elements are complete in every situation.
Database cluster availability testing
Our advanced, configured MongoDB cluster allows you to connect to and perform operations on it remotely. For example, let's look at the actual state by connecting and executing a few check commands using the PHP applet.
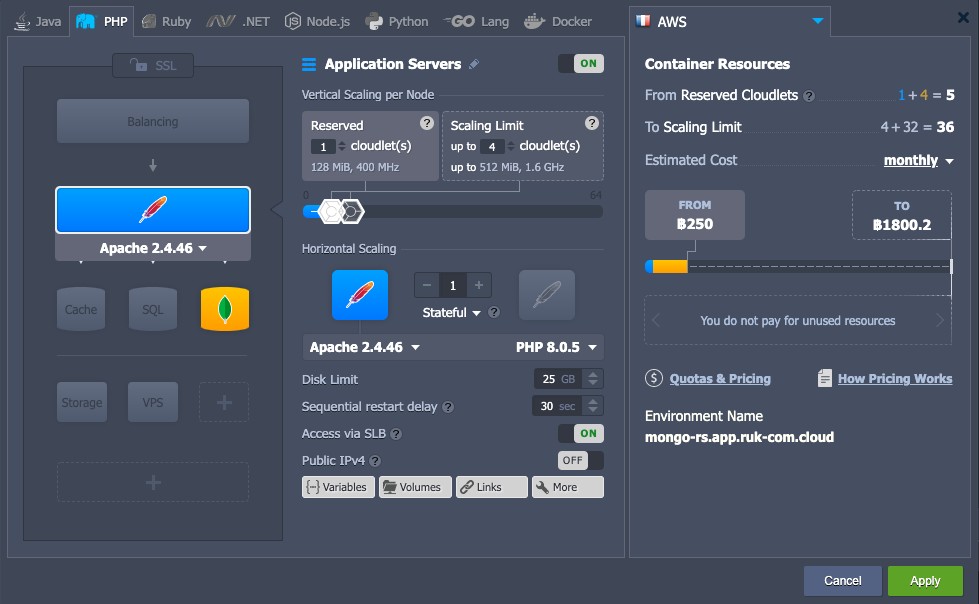
Obviously you need a server application for that (such as Apache), so either add the server to your Env (as we did) or just create it within a separate Env.
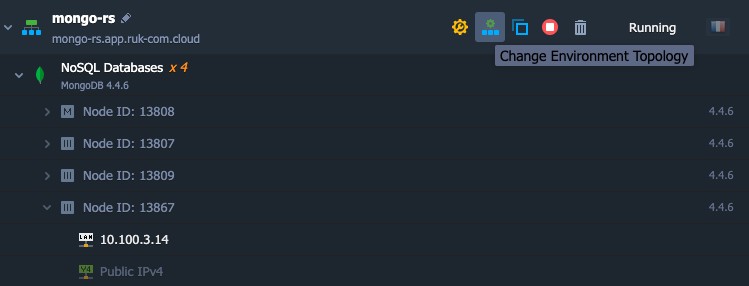
1. Press the buttonChange Environment Topologyand add server
2. Open the Configuration Manager tab for the added Apache server by selecting the Config icon next to it.
3. Go to the directory./var/www/webroot/ROOTOpen the index.php file and paste the following code in place of the default:
<?php
    try{
	$mongodbConnectionURI= "mongodb://{db_username}:{db_password}@node{NodeID}-{environment_domain}:27017,node{NodeID}-{environment_domain}:27017,node{NodeID}-{environment_domain}:27017,node{NodeID}-{environment_domain}:27017/?replicaSet={replica_set_name}&readPreference=primary";
    $manager = new MongoDB\Driver\Manager($mongodbConnectionURI);
    $command = new MongoDB\Driver\Command(['ping' => 1]);
    $cursor = $manager->executeCommand('db', $command);
    $response = $cursor->toArray()[0];
    var_dump($response);
    echo'<br><br>';
    var_dump($manager->getServers());
    } catch (Exception $e){
        echo $e->getMessage();
        }
?>
Where the following values should be replaced with the relevant information:
- {replica_set_name} – The name of your replica set.
- {db_username} – Administrator of the selected master database. (Default is admin)
- {db_password} – Password of the user specified above.
- {NodeID} – The identification number of the corresponding node which can be found on the Ruk-Com dashboard.
- {environment_domain} – Env domain that can be found on the Ruk-Com dashboard.
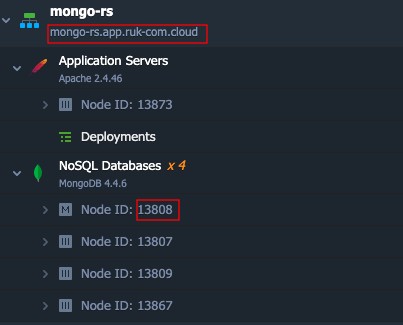
Note:
You must specify the ID of every node included in your simulation set within the section. appropriate mongodbConnectionURI
As a result, you get a similar set of strings:
Don't forget to save this file.
4. Apache requires special modules to be able tointeract with the MongoDB serverYes, so you need to add it within the configuration.
Then go to etc folder and open the file.php.iniSearch section[mongodb]and delete the semicolon before the line.extension=mongodb.soTo enable this extension
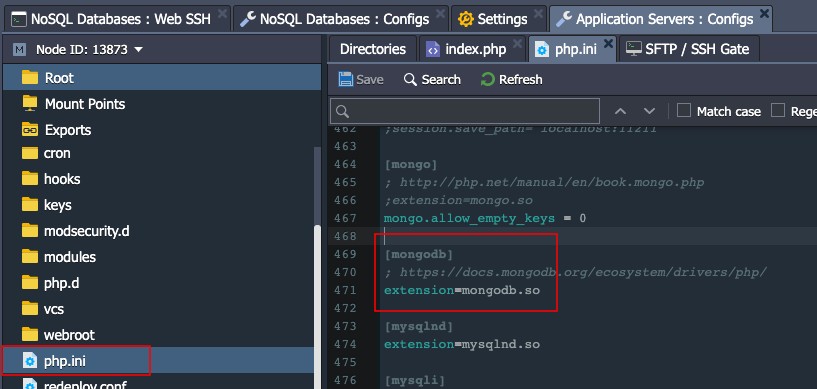
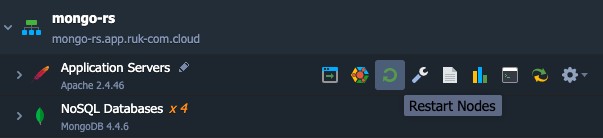
5. To apply the new configuration, clickSaveinside the editor window and press the buttonRestart Nodesnext to your server application.
6. Finally, click the Open in Browser icon nearby.
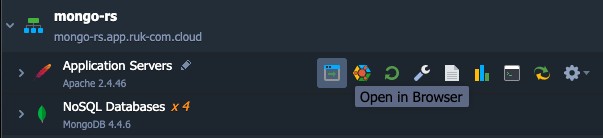
To this end, within a new browser tab you will see information about your simulation set members and their ability to access them.
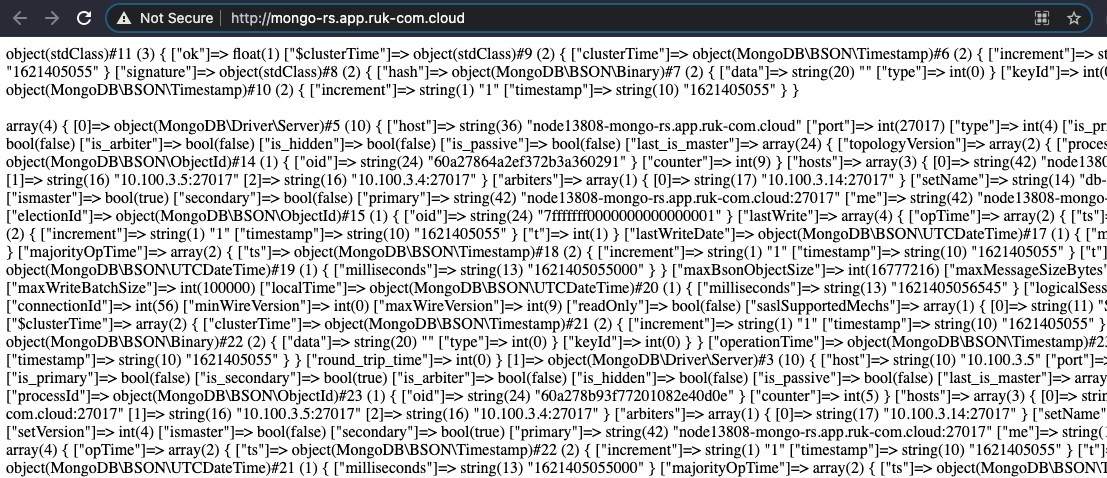
The first line shows the results of the simulation dataset availability check performed by the "ping" command (line 6 ofindex.php):
object(stdClass)#11 (3) { ["ok"]=> float(1) }This means that the simulation suite has been successfully tested.
In the next block of output, all information about the replication set host will be displayed. which is derived from the functiongetServers(Line 11 ofindex.php) For example, you can check some values defined during the creation process of this simulated data set:
- host– IP address of the specific database
- port– Current dummy member port
- ["is_primary"] and ["is_secondary"] - parameters indicating the state of the server (correspondent values For the MongoDB server, the main one selected is True/False and for the other two MongoDB servers – False/True respectively).
Additionally, you can start and stop your database nodes and refresh this page to track changes. This way you can make sure your MongoDB cluster is up and running as intended. Therefore, it can now be applied to real cases.