
Custom Error Page Settings via NGINX Balancer
This guide is maintained for Ruk-Com PaaS. Screens and options may vary by platform version and account permissions.
Confirm the environment, region and account permissions, and back up current settings before changing a production system.
Objective
This guide explains how to use Custom Error Page Settings via NGINX Balancer on Ruk-Com Cloud PaaS, with ordered procedures and practical verification points.
Before you begin
- Sign in with an account permitted to manage the relevant environment.
- Confirm the target environment, region and resources before saving changes.
- Create a backup or rollback plan before changing a production system.
When an error occurs within the environment (for example, when attempting to access a page that does not exist), the default error page for the server is displayed. For example:
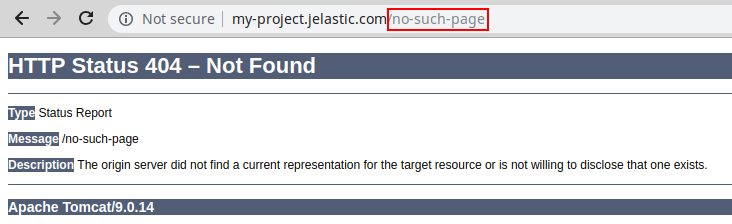
You can replace this error page by customizing it to provide end users with more specific instructions and leave them an email to contact you. In the sections below we will show you how to customize error pages using the NGINX load balancer added to your environment.
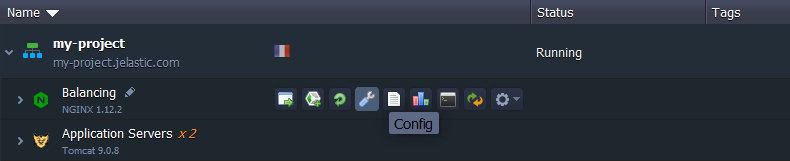
1. Go to Ruk-Com Cloud Dashboard and find NGINX load balancer in your env then click the button.Config
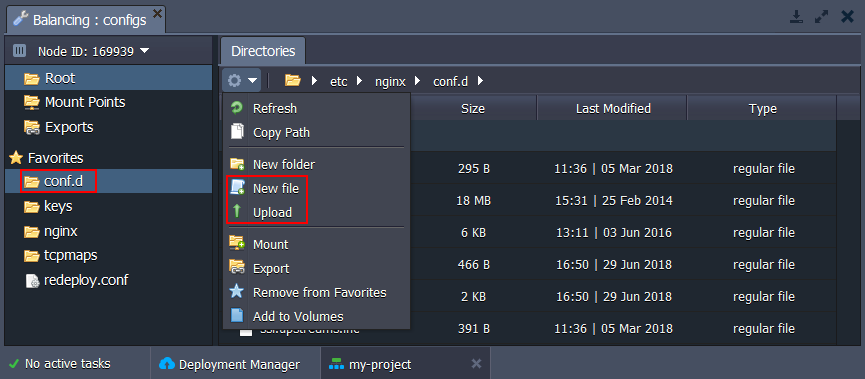
2. In the Open Configuration manager tab, go to the folder./etc/nginx/conf.dand create or upload your own custom error page.
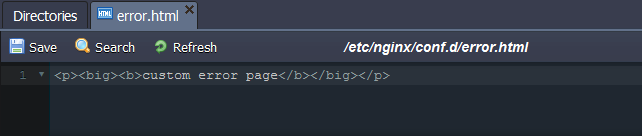
3. For this guide we will use the following error.html file:
4. Then go to the directory./etc/nginxand copy the contents of the filenginx-Ruk-Com PaaS.confput innginx.confBy replacing the file include /etc/nginx/nginx-Ruk-Com PaaS.conf; (circled in the picture below)
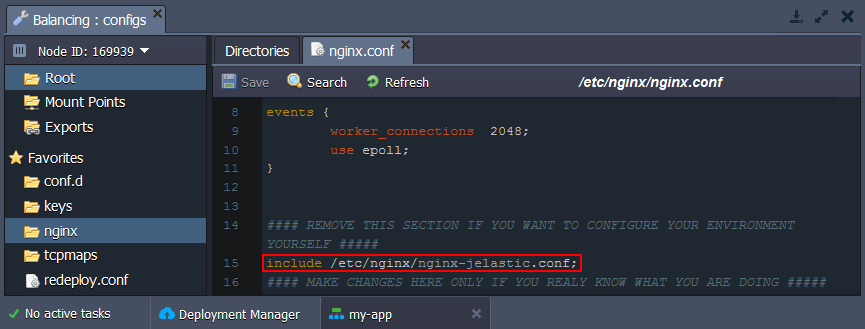
You can now specify all required configurations.
5. Find the server section to place the configuration and override settings.error_pageStart with the following string:
error_page 403 404 500 502 503 504 /error.html;
proxy_intercept_errors on;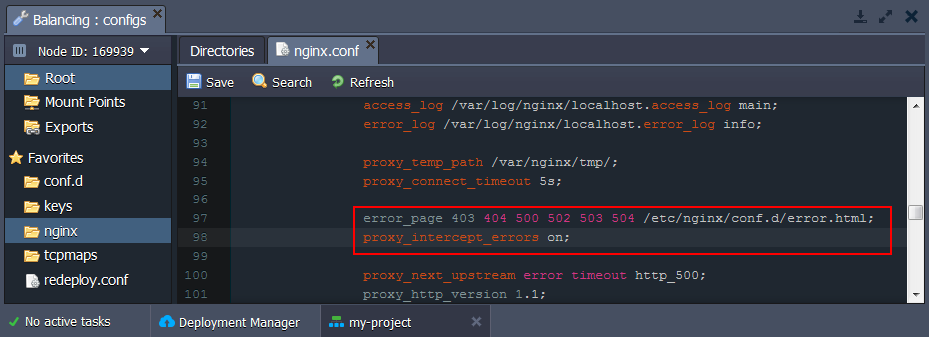
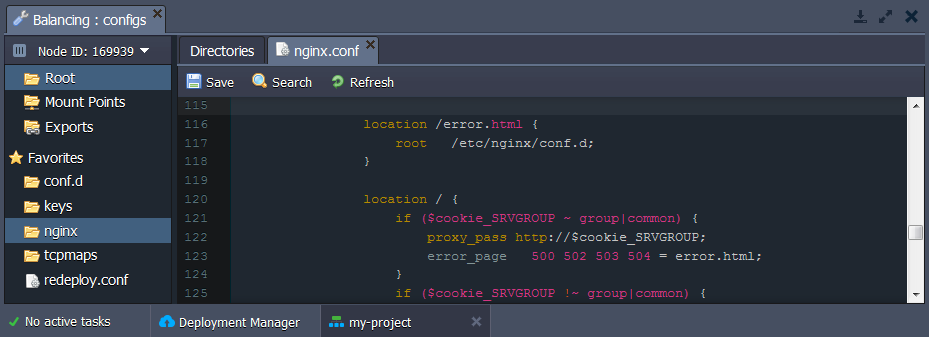
6. After that, scroll down a bit to modify the error parameters page within the subsection.location:
location /error.html {
    root   /etc/nginx/conf.d;
    internal;
}

location / {
    if ($cookie_SRVGROUP ~ group|common) {
        proxy_pass http://$cookie_SRVGROUP;
        error_page 403 404 500 502 503 504 = /error.html;
    }
    if ($cookie_SRVGROUP !~ group|common) {
        add_header Set-Cookie "SRVGROUP=$group; path=/";
    }
    proxy_pass http://default_upstream;
    add_header Set-Cookie "SRVGROUP=$group; path=/";
}

location @rescue {
    proxy_pass http://$cookie_SRVGROUP;
    error_page   500 502 503 504 = error.html;
}

location @recycle {
    proxy_pass http://default_upstream;
    add_header Set-Cookie "SRVGROUP=$group; path=/";
}
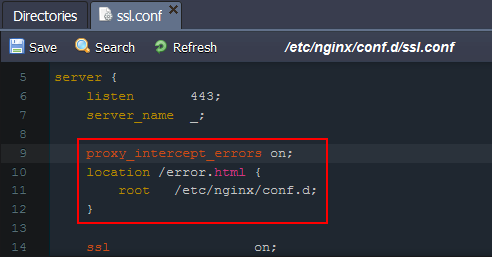
7. In cases where your website uses SSL (for example, for connections via HTTPS), some additional configuration is required. (Otherwise go to point 9.) Add the following line to the server section of the file./etc/nginx/conf.d/ssl.conf:
proxy_intercept_errors on;
location /error.html {
                    root   /etc/nginx/conf.d;
 }
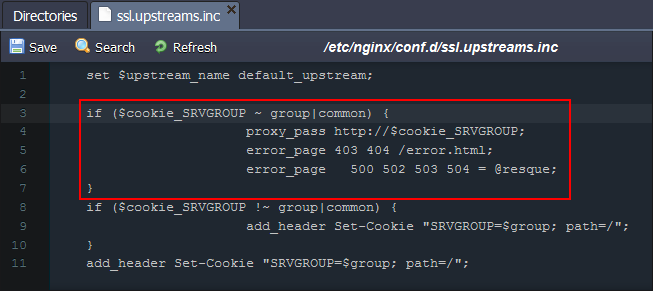
8. You need to adjust the file./etc/nginx/conf.d/ssl.upstreams.incFind the following conditions and change them as follows:
if ($cookie_SRVGROUP ~ group|common) {
                   proxy_pass http://$cookie_SRVGROUP;
                   error_page 403 404 /error.html;
                   error_page   500 502 503 504 = @resque;
}
9. Don't forget to restart NGINX server to apply the changes.

10. Try visiting a page that doesn't exist in your domain.
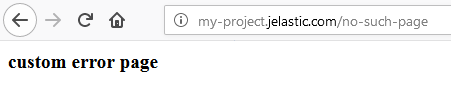
Note:If the server with pre-configured custom error pages or the entire environment cannot access the error page, the platform will display the default error page, such as: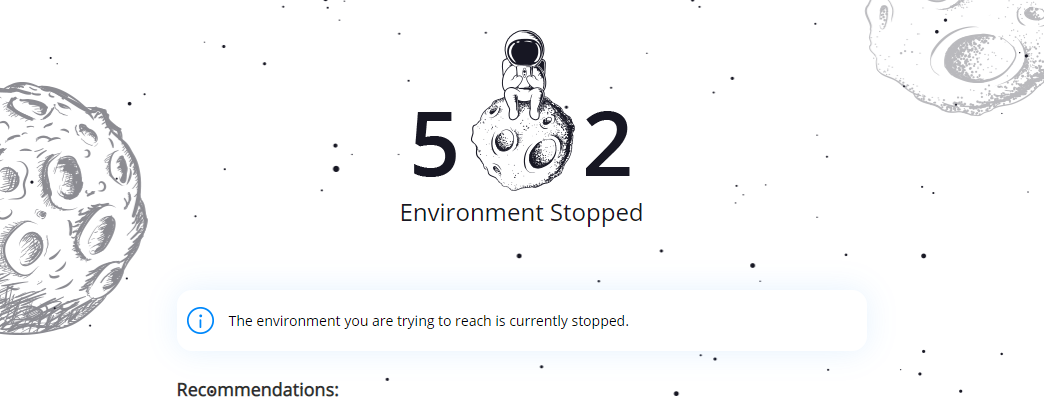
You cannot edit this notification for your environment.