
Environment Aliases
This guide is maintained for Ruk-Com PaaS. Screens and options may vary by platform version and account permissions.
Confirm the environment, region and account permissions, and back up current settings before changing a production system.
Specifying the alias (alternative name) for an environment or a separate node can greatly facilitate the process of their management. It clarifies which item you are working with, so you’ll never make a mistake while choosing the environment/node that needs to be adjusted.
This ability is especially useful while working with numerous nodes of the same type, possibly due to the multi nodes feature. Let’s consider this on the example of defining the master and slave nodes in a DB cluster.
- Select the necessary environment with a set of same-type nodes and expand the instances list:
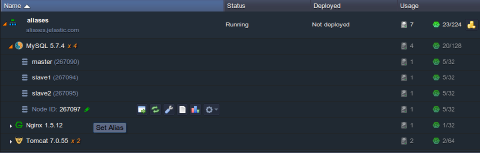
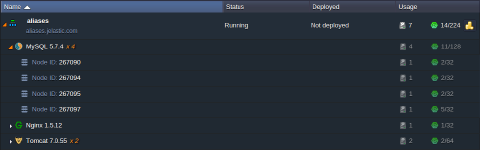 2. Choose the node you would like to add the label for and click the Set Alias pencil pictogram next to it (or simply double-click on the Node ID: xxx string). Whatever you enter into the appeared input field, the value will be automatically saved.
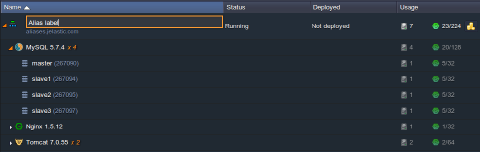
 3. In the same way you can add a label for a whole environment (wherein the domain name will remain the same).
 Such a custom name will define the corresponding item in all the appropriate lists:
- at the dashboard
 * in the SSH console

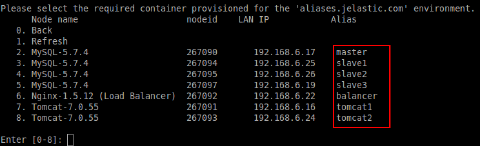
Also, these labels are visible for other users in collaboration and remain attached after environment’s cloning, transferring, etc.
Deleting the alias name anytime will return the default value.